
Plan the load-bearing design
Before sketching the shape of your ice sculpture, you must calculate its structural integrity. A common mistake in wedding and festival planning is prioritizing visual flair over physics, which can lead to catastrophic collapse during the event. The initial sketch phase should focus on geometry, weight distribution, and thermal stability rather than decorative details.
Start by determining the center of gravity. Tall, slender designs require a significantly wider base to remain stable. If the sculpture’s weight is not evenly distributed, it will tip or fracture under its own tension. Use a triangular or pyramidal foundation for any piece taller than three feet. This shape naturally directs force downward, reducing the risk of lateral stress on the ice.
Next, account for the load of internal supports. Most large ice installations require steel armatures or wooden cores to hold their shape. These materials add weight and create thermal bridges that can accelerate melting in specific areas. Ensure your design accommodates these supports without compromising the aesthetic. The ice thickness around these cores must be uniform to prevent weak points.
Finally, consider the environmental load. Wind, humidity, and ambient temperature changes affect ice differently than solid materials. Ice expands and contracts with temperature fluctuations, so rigid connections between pieces can cause cracking. Use flexible bonding techniques and allow for slight movement in your design. This approach ensures your ice structure remains intact from setup to the final melt.
Map out the weight distribution of your design. Ensure the heaviest parts are closest to the ground. Use a wide, flat base for tall structures to prevent tipping.
Choose a triangular or pyramidal foundation for stability. Avoid narrow, high-center designs unless they are supported by an internal armature. The base width should be at least 40% of the total height.

Plan for steel or wooden cores if the sculpture exceeds three feet. Ensure ice thickness is uniform around these supports to prevent weak points and uneven melting.
Allow for slight movement in your design. Use flexible bonding techniques to accommodate ice expansion and contraction, preventing cracks during temperature shifts.
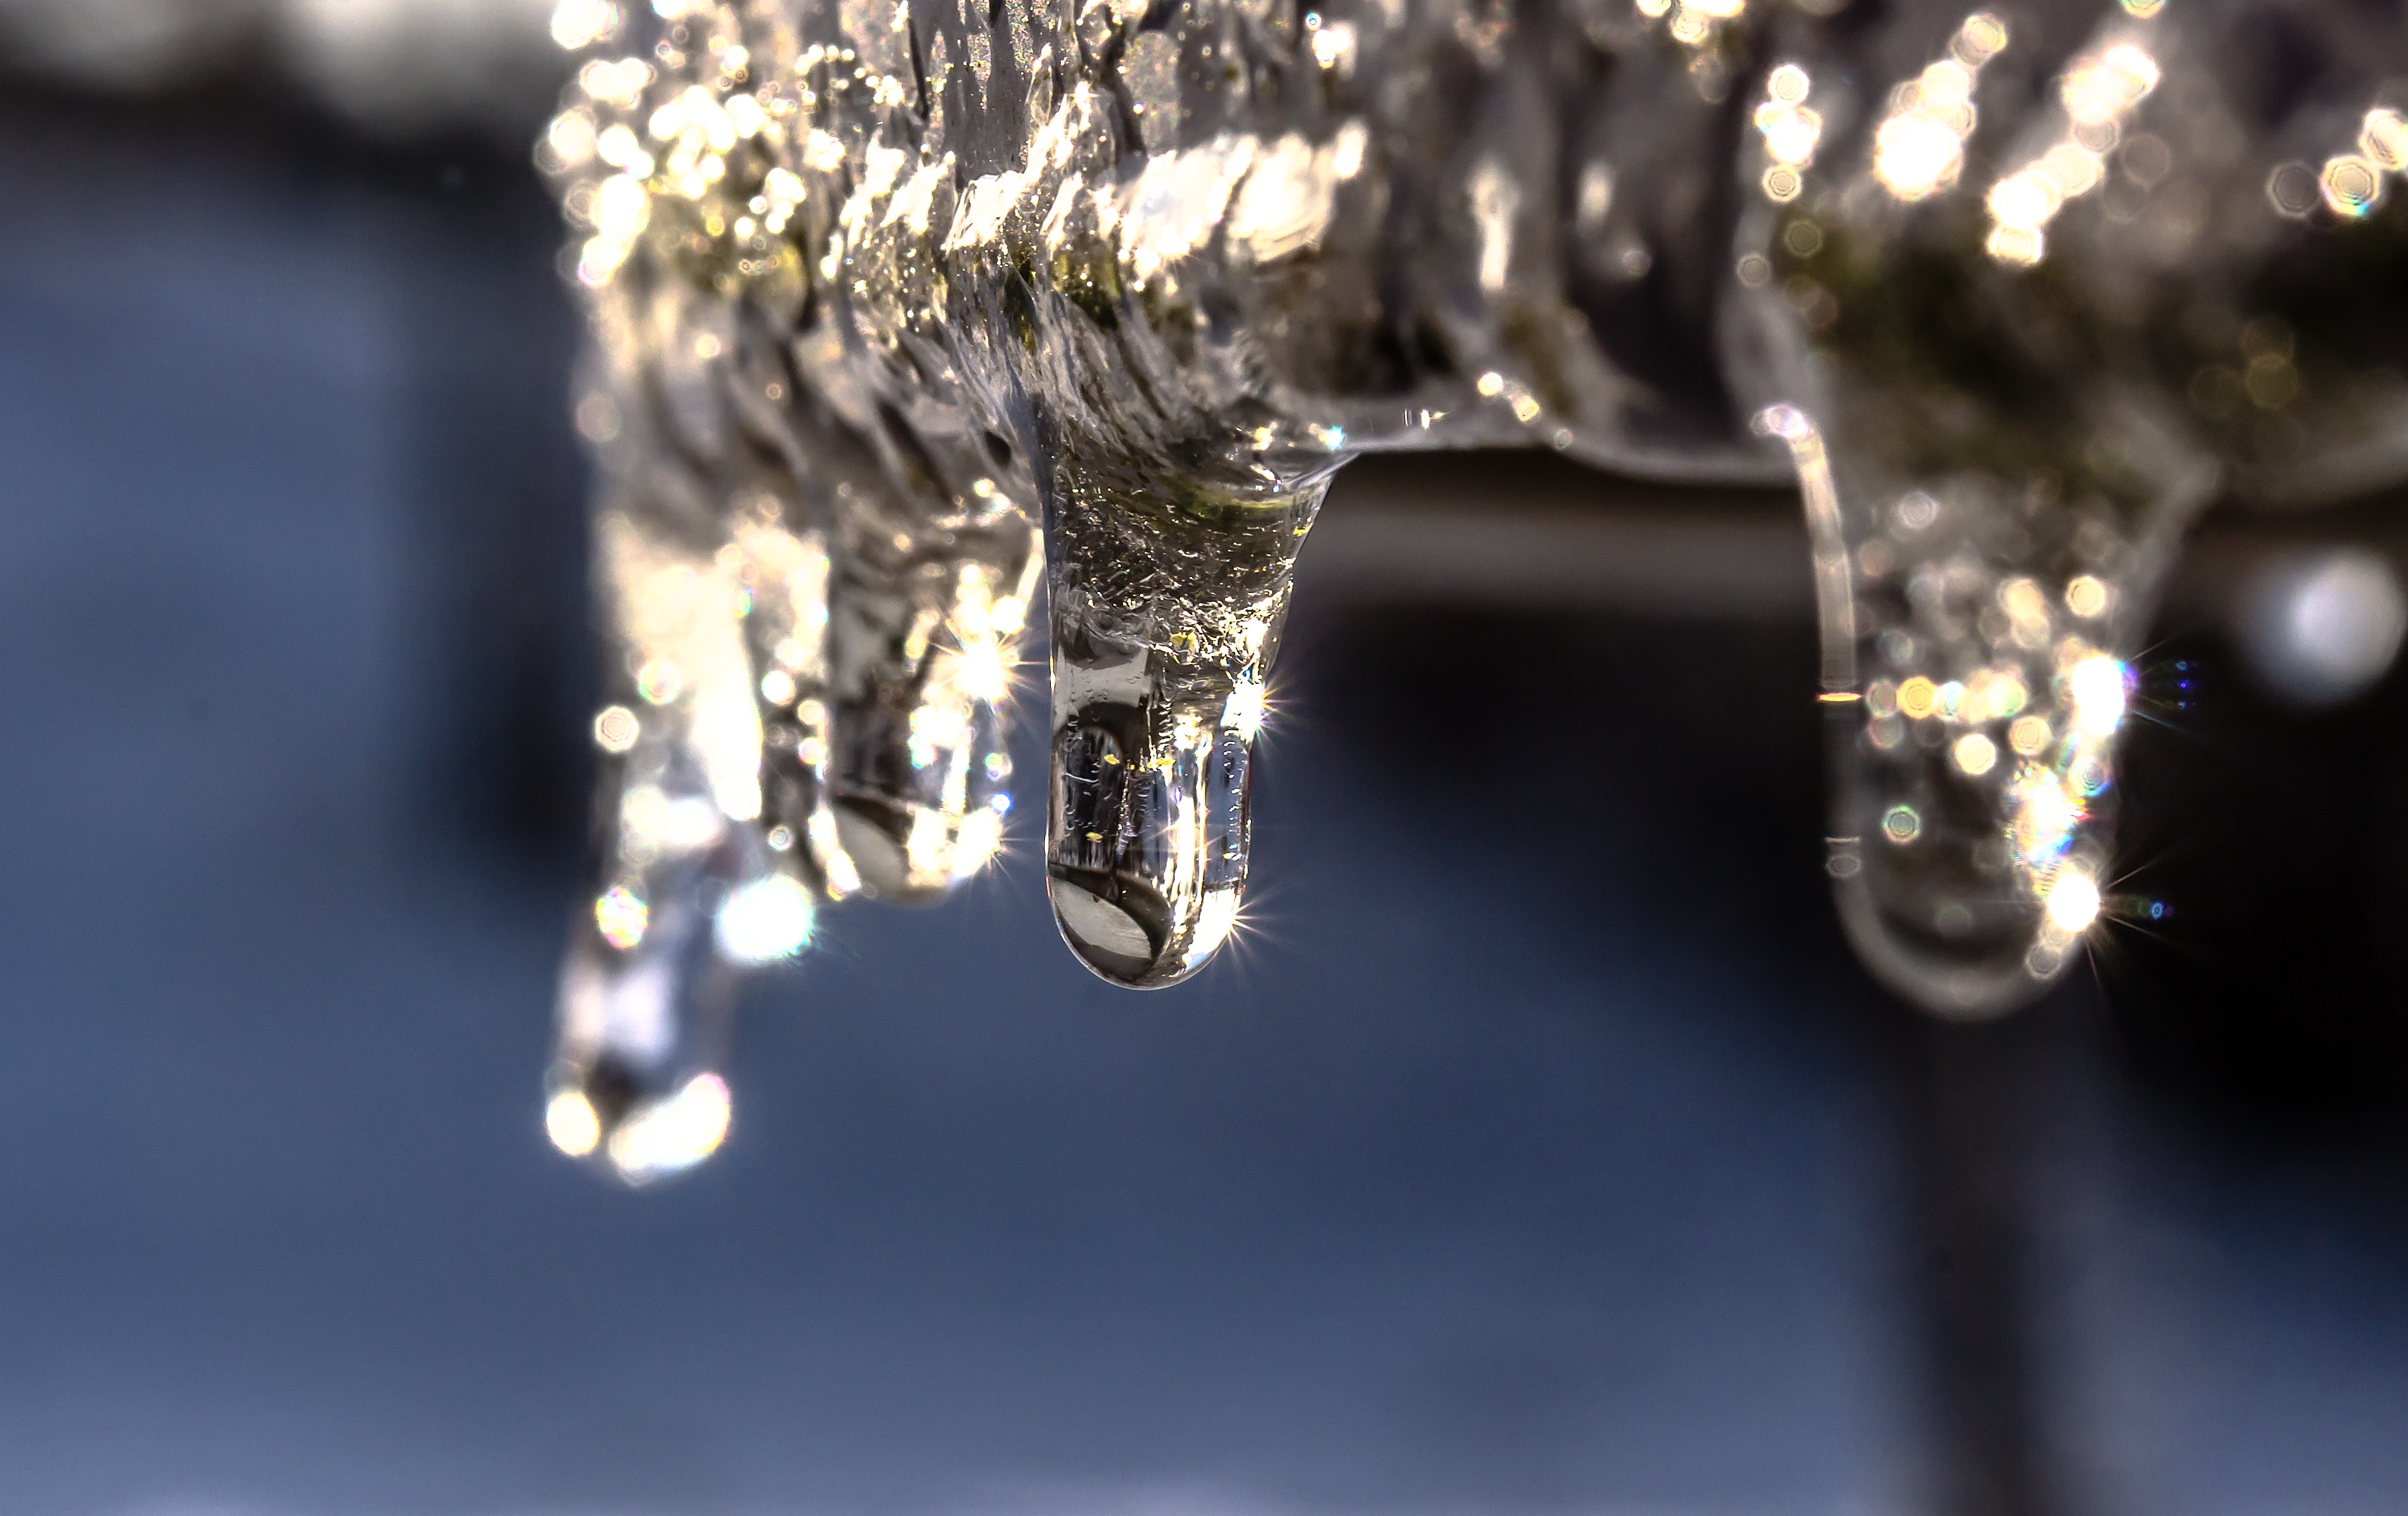
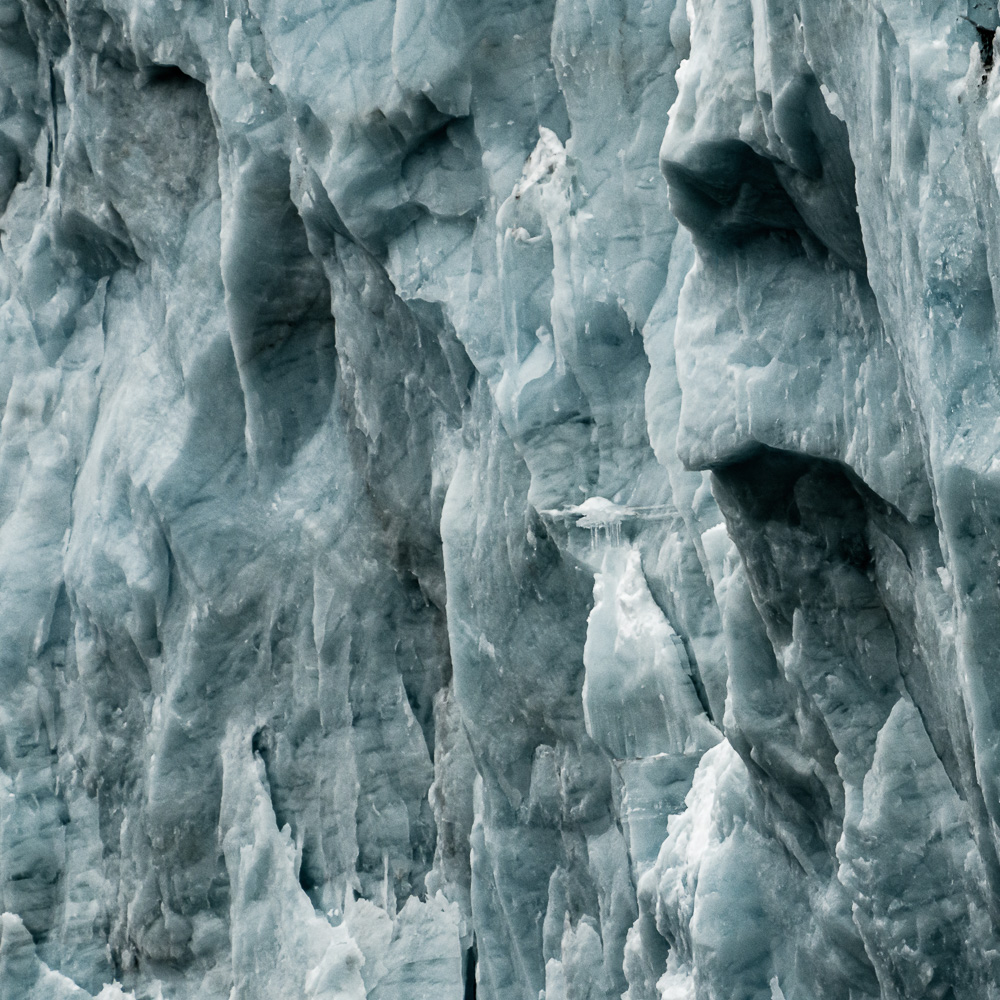
Select clear block ice for strength
The foundation of any structural ice sculpture is the clarity of the block itself. When you choose clear, bubble-free ice, you are selecting material that has been directionally frozen to remove trapped air. This process aligns the ice crystals, creating a dense, uniform structure that can support significant weight without fracturing. Cloudy ice, by contrast, is filled with microscopic air pockets that act as stress points, making the material brittle and prone to sudden failure under load.
For wedding arches or large festival installations, this distinction is not just aesthetic—it is a matter of safety and longevity. Clear ice has a higher tensile strength and better thermal mass than cloudy ice. It melts more slowly and evenly, maintaining its structural integrity longer in warm environments. Using cloudy ice for a large, load-bearing piece is like building a house with cracked concrete; it might hold for a moment, but the risk of collapse increases dramatically as the temperature shifts.
When sourcing your blocks, inspect the edges and corners. Clear blocks should look like solid glass, with no white, opaque spots that indicate trapped air or impurities. If the ice looks milky or has visible bubbles, it is not suitable for structural work. Always request directionally frozen blocks from your supplier, and verify their clarity before they are loaded into your vehicle.
Execute the carving sequence
The integrity of a structural ice sculpture depends less on the final polish and more on the sequence of cuts. Ice behaves like a brittle composite material; remove too much mass too quickly, and internal stresses can cause catastrophic cracking. The goal is to transition from rough shaping to fine detail while keeping the core block intact. Think of this process as subtractive surgery: you are removing the non-essential to reveal the structure, not hacking away at random.
Step 1: Rough out the silhouette
Begin by removing the bulk of the excess ice. Use a chainsaw or a large rotary tool with a coarse bit to establish the primary contours of your design. Focus on the overall volume rather than surface details. Cut with the grain of the ice where possible to minimize chipping. Leave at least two inches of material on all sides of your final design. This buffer is critical; it acts as a heat sink and a structural shield against accidental slips or thermal expansion during the refining phase.
Step 2: Define the structural core
Once the rough shape is established, switch to a finer rotary burr or a large chisel. This stage is about defining the load-bearing elements of your sculpture. For wedding centerpieces or festival installations, identify the thinnest points that must hold weight. Avoid creating sharp, unsupported overhangs at this stage. If your design requires thin legs or delicate arches, carve them slightly thicker than you intend for the final look. You can always remove more material later, but you cannot add it back. Check for internal fractures by tapping the surface with a wooden mallet; a clear ring indicates solid ice, while a dull thud suggests a hidden crack that needs to be worked around.
Step 3: Refine the surface details
Now that the structure is safe, focus on the aesthetic details. Use smaller rotary tools, files, and chisels to carve textures, lettering, and intricate patterns. Work from the top down to prevent debris from falling into already finished areas. Keep your tools sharp; dull bits tear the ice, creating rough surfaces that require excessive smoothing later. If you encounter a small surface crack, stop carving in that area and apply a thin layer of warm water to "heal" the fissure before proceeding. This technique, often used by professional ice sculptors for competitions, bonds the fractured layers back together seamlessly.
Step 4: Smooth and finish
The final step is smoothing the surface to achieve a glass-like finish. Use a hot air gun or a specialized ice smoother (a metal plate heated by a small flame) to melt the microscopic peaks and valleys left by your tools. Move the heat source constantly to avoid creating dents or uneven melting. For a high-gloss finish, follow the heat smoothing with a light mist of water. This final layer fills any remaining micro-pores and creates a uniform, reflective surface. Allow the sculpture to settle for a few minutes before moving it. This brief pause lets the surface tension stabilize, ensuring the finish remains intact during transport or display.
Manage temperature and humidity
Use this section to make the Building Ice Impressions decision easier to compare in real life, not just on paper. Start with the reader's actual constraint, then separate must-have requirements from details that are merely nice to have. A practical choice should survive normal use, maintenance, timing, and budget. If a recommendation only works in an ideal situation, call that out plainly and give the reader a fallback path.
The simplest way to use this section is to write down the must-have criteria first, then compare each option against those criteria before weighing nice-to-have features.
Choose the right tools for the job
Use this section to make the Building Ice Impressions decision easier to compare in real life, not just on paper. Start with the reader's actual constraint, then separate must-have requirements from details that are merely nice to have. A practical choice should survive normal use, maintenance, timing, and budget. If a recommendation only works in an ideal situation, call that out plainly and give the reader a fallback path.
| Factor | What to check | Why it matters |
|---|---|---|
| Fit | Match the option to the primary use case. | A good deal still fails if it does not fit the job. |
| Condition | Verify age, wear, and service history. | Hidden condition issues erase upfront savings. |
| Cost | Compare purchase price with likely upkeep. | The cheapest option is not always the lowest-cost option. |
Common structural mistakes to avoid
Building Ice Impressions troubleshooting should start with a clear boundary: what is actually broken, and what still works normally. Check the display, network connection, paired devices, app access, and recent updates before assuming the whole system needs a reset. A small connection failure can make the main screen feel unreliable even when the core system is fine. Work from low-risk checks to deeper resets. Confirm power state, safe parking, account access, and signal first. Then restart the interface, wait for it to reload completely, and test the original symptom. Avoid changing multiple settings at once because that makes it harder to know which step actually fixed the problem. If the issue affects safety information, repeats after every restart, or appears with warning messages, treat the reset as a temporary diagnostic step rather than the final fix. Document the symptom and move to official support instead of stacking more DIY attempts.
The simplest way to use this section is to keep the setup small, verify each change, and record the stable configuration before adding optional accessories.
Frequently asked questions about ice integrity
Helpful gear
Use these product recommendations as a starting point, then choose the size, material, and price point that fit how you actually use the gear.

As an Amazon Associate, we may earn from qualifying purchases.
No comments yet. Be the first to share your thoughts!