
The reality of 2026 heat
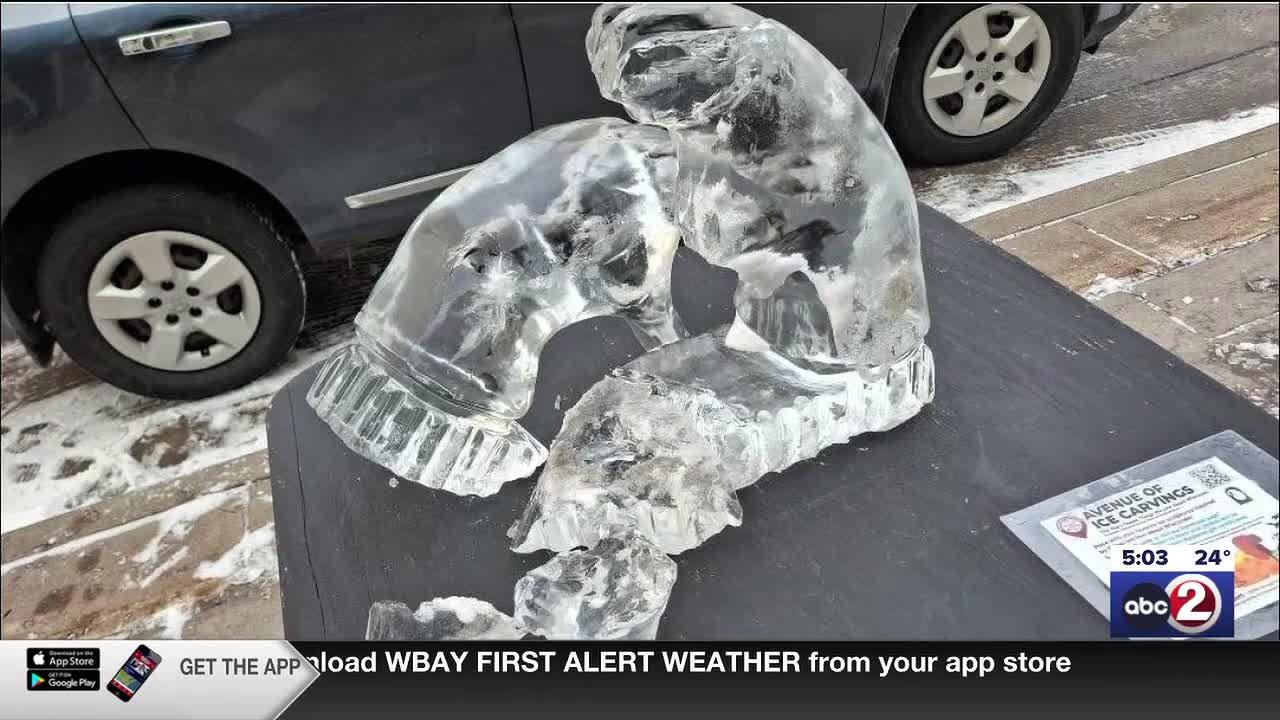
Ice sculpting is getting harder because the weather is less predictable. Ten years ago, we knew how fast a block would melt. Now, a sudden heat spike can ruin a week's work in an afternoon. We have to change how we build if we want these pieces to survive the weekend.
The structural integrity of ice sculptures is, of course, directly tied to temperature. But it's not simply a matter of reaching 32°F (0°C) and being stable. Ice behaves differently depending on its internal structure, density, and any impurities present. A slight increase in ambient temperature can trigger a cascade of effects – accelerated surface melting, internal stress fractures, and ultimately, collapse. We’re seeing events cancelled or drastically altered due to heat waves that were previously rare occurrences.
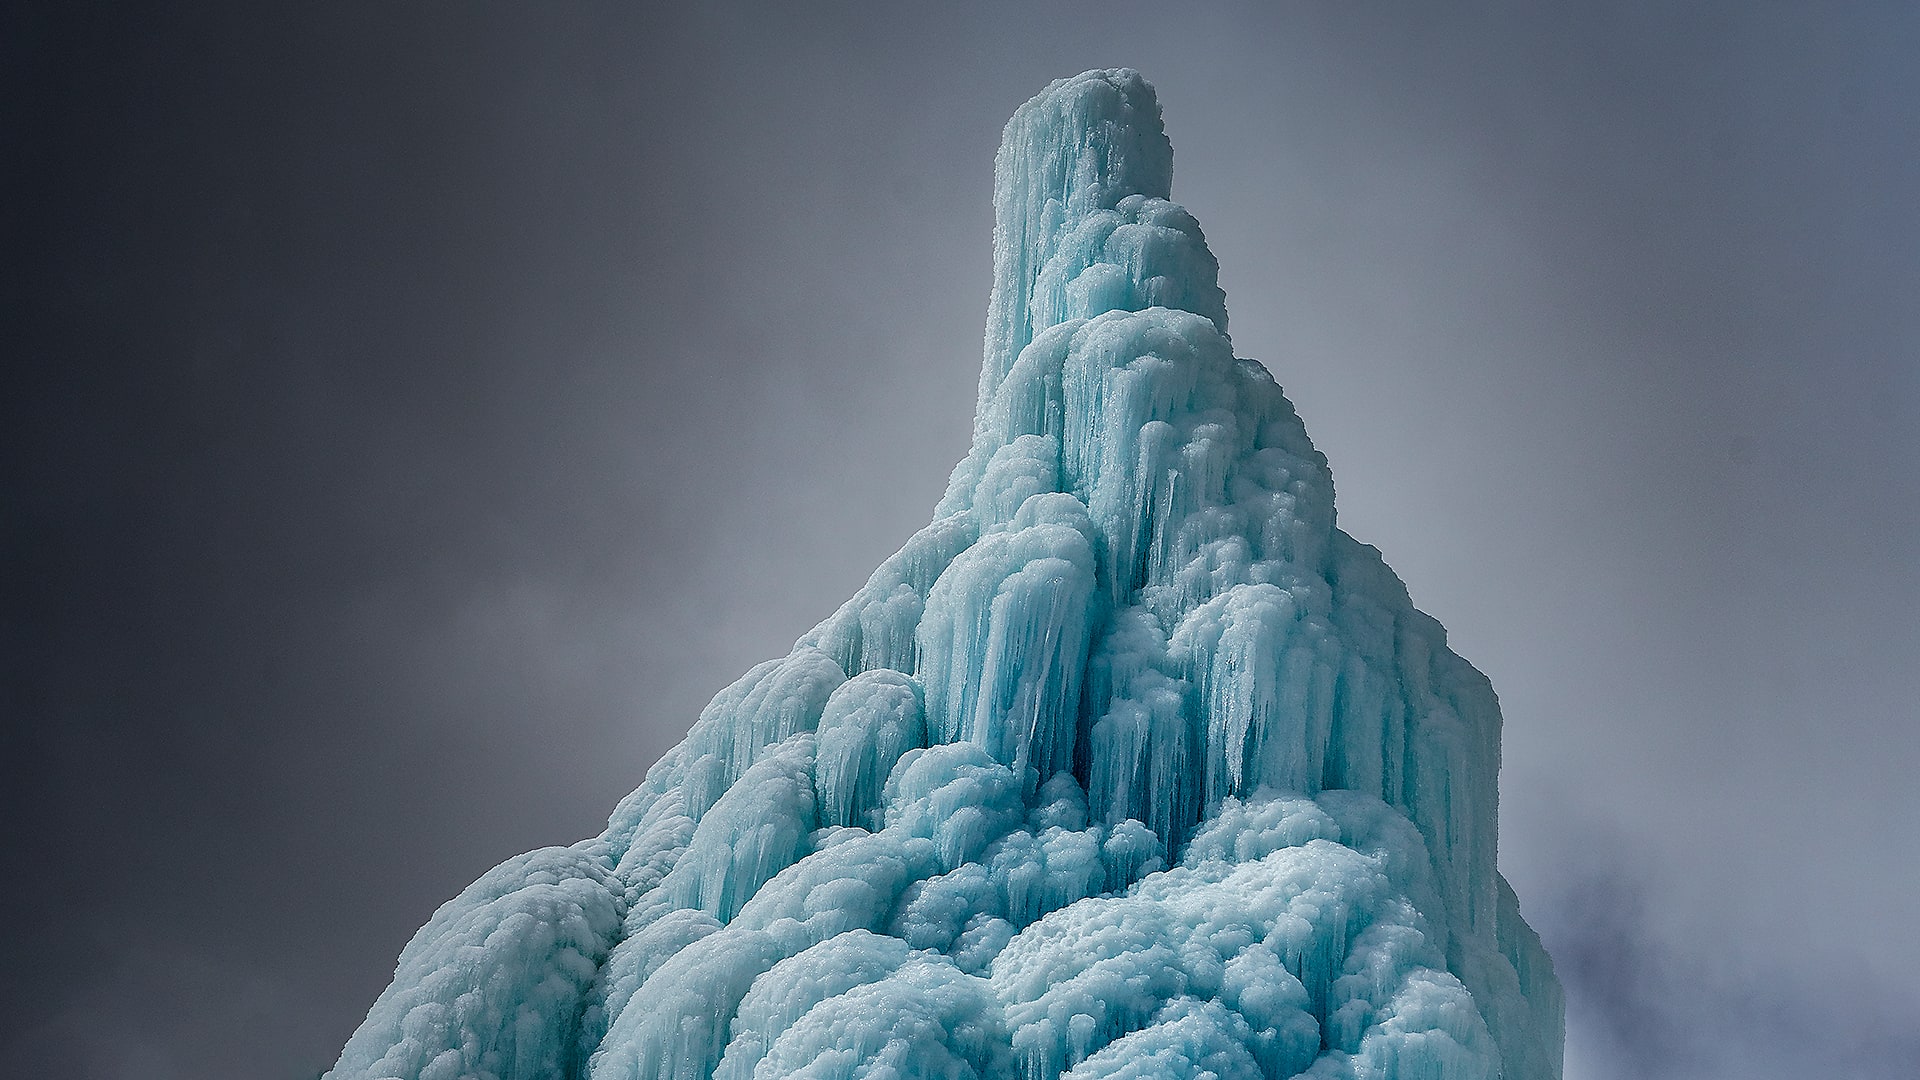
Understanding the materials science is key. Ice isn't just frozen water; it's a crystalline structure. The arrangement of water molecules impacts its strength and melting point. Temperature fluctuations cause expansion and contraction, creating stress within the ice. As temperatures rise, the bonds between these molecules weaken, leading to a loss of structural integrity. It's a delicate balance, and one that’s becoming increasingly difficult to maintain.
Density and water quality
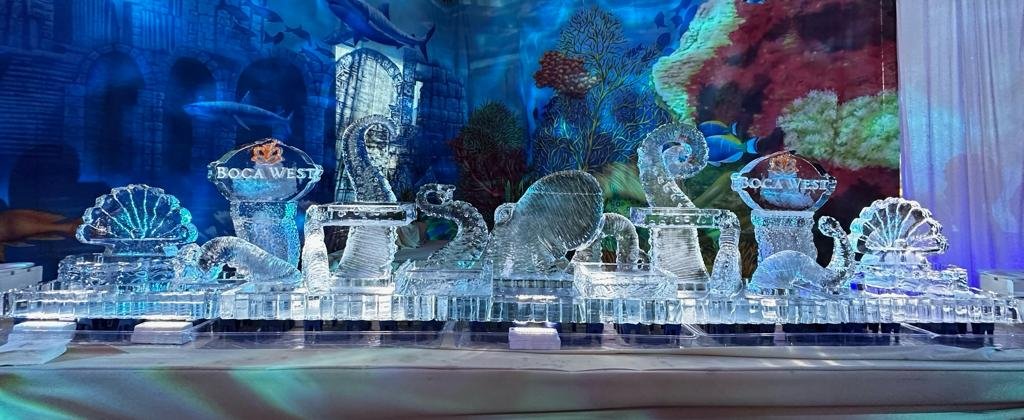
The quality of the ice itself is the first line of defense against rapid melting. It’s not enough to simply freeze water. The source of the water matters. Distilled water, lacking mineral content, produces clearer ice, but it can also be more brittle. Tap water, with its dissolved minerals, creates ice that’s often stronger, but less visually appealing. Finding the right balance depends on the desired aesthetic and the sculpture’s structural demands.
Controlled freezing processes are paramount. Slow freezing allows water molecules to align more uniformly, resulting in a denser, stronger ice structure. Rapid freezing, conversely, creates smaller, more disordered crystals, leading to weaker, cloudier ice. The research detailed in the PMC article on monumental ice structures emphasizes the importance of minimizing air bubbles and impurities during the freezing process to maximize strength. They found that directional freezing – controlling the direction of ice crystal growth – significantly improved structural performance.
I've seen people try adding polymers to the water to stop melting. I don't like it. It usually makes the ice look cloudy or plastic. A 2023 study in ScienceDirect noted that these additives change how ice behaves under pressure, often making it brittle. If it doesn't look like glass, it isn't worth the extra hour of display time.
Hidden supports
Even with high-quality ice, large or complex sculptures often require internal support. This isn’t about masking the structure; it’s about intelligently integrating it into the design. Stainless steel is a common choice due to its corrosion resistance and strength. Acrylic is another option, offering transparency, but it’s less robust than steel. Some sculptors even utilize carefully placed frozen water supports – essentially freezing sections of the sculpture to act as internal bracing.
Load distribution is critical. Understanding where the stress points are within the sculpture allows us to strategically place supports to bear the weight. The sciencedirect.com research on monumental ice structures details how engineers analyze stress distribution in large-scale ice formations. We need to think like structural engineers, anticipating how the ice will react to its own weight and external forces.
I’m not entirely convinced that advanced materials like carbon fiber are currently viable for widespread use in ice sculpting. The cost is prohibitive, and the benefits might not outweigh the complexity of working with such materials. However, it’s an area worth watching. Research into lightweight, high-strength materials could revolutionize the field, allowing for more ambitious and structurally daring designs.
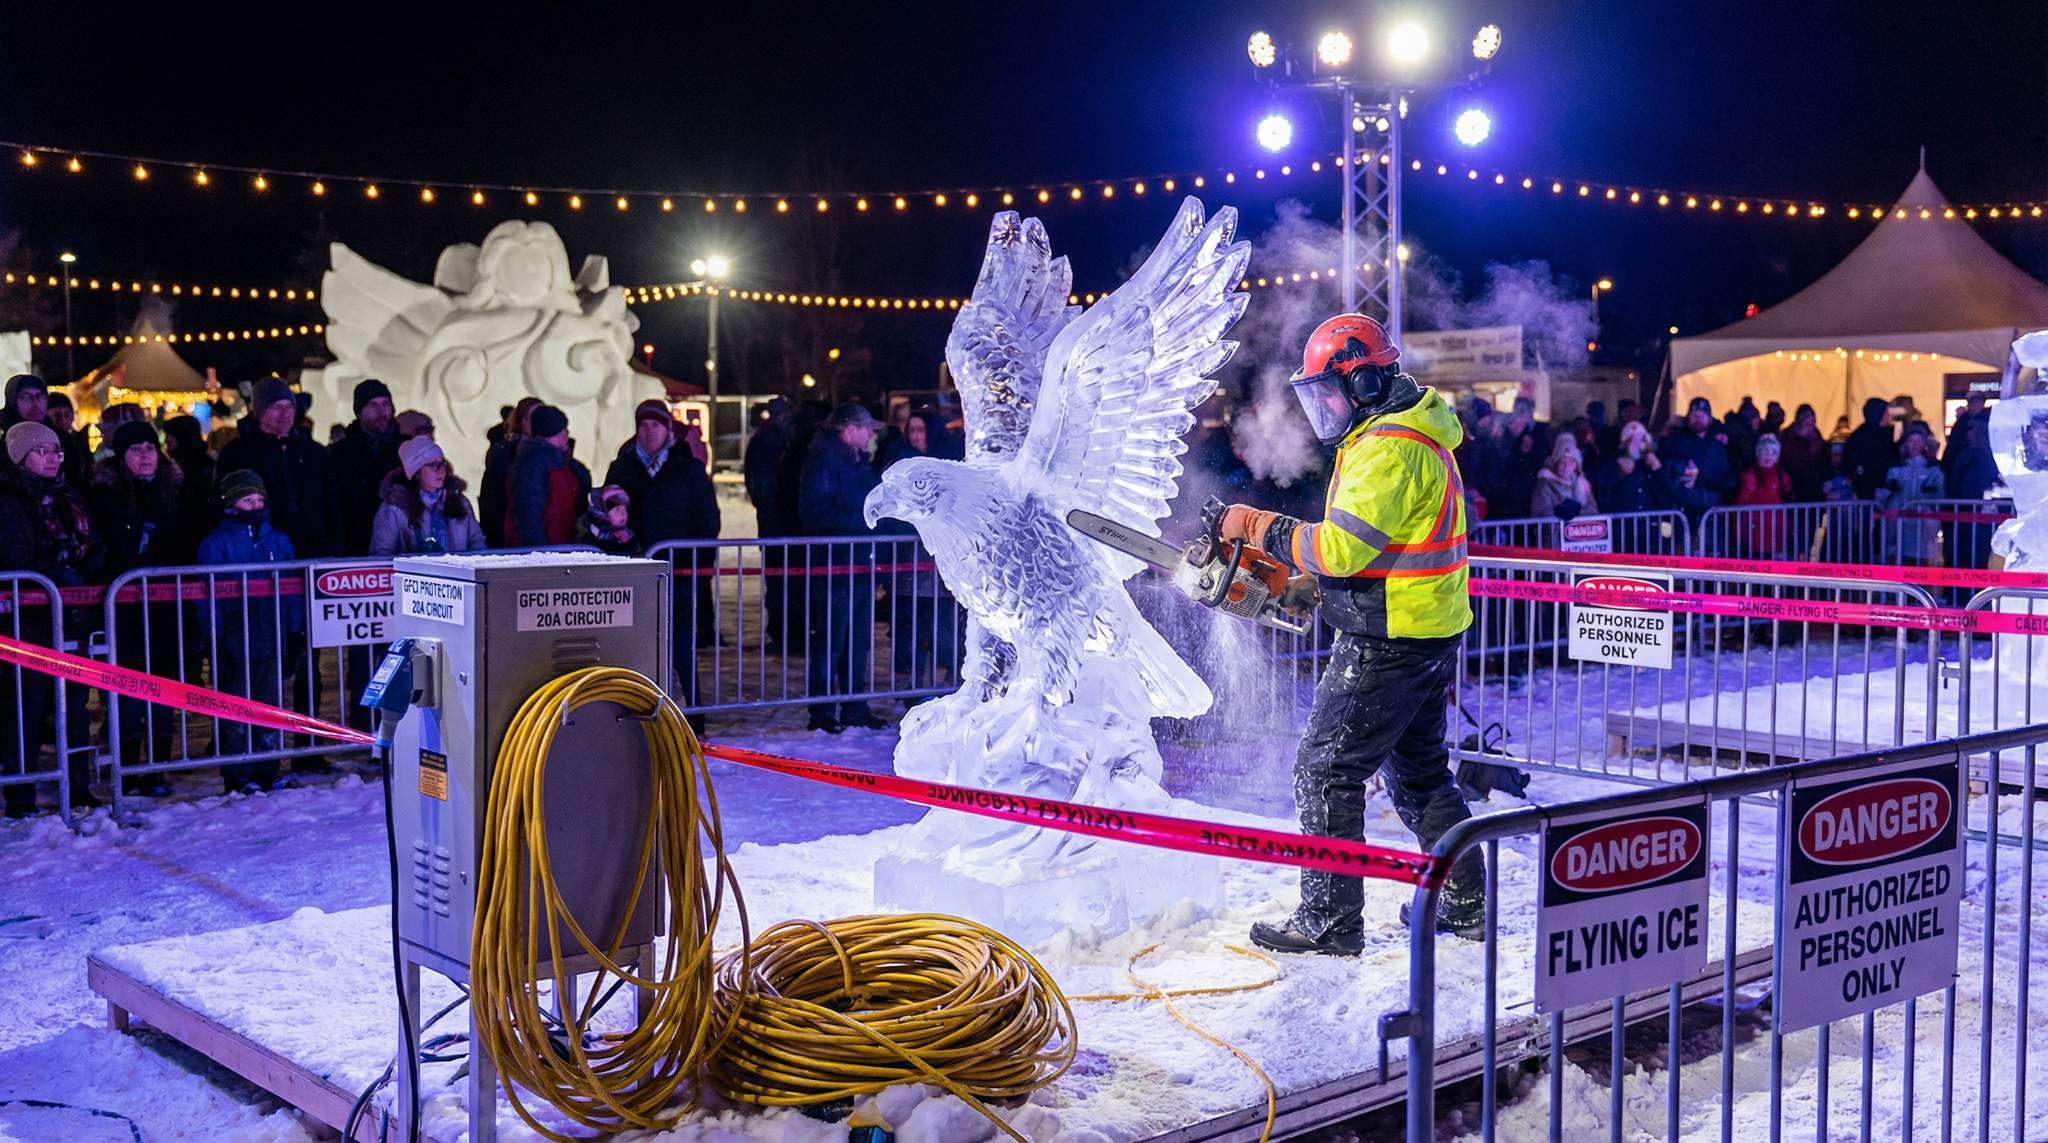
Sculpting Techniques for Heat Resistance
How we actually shape the ice is just as important as the ice itself. Minimizing overhangs is crucial. These are inherently weak points, prone to cracking and collapse as the ice warms. Creating thicker base structures provides a more stable foundation and slows the overall melting process. A wider base distributes the weight more effectively, reducing stress on any single point.
Smooth, flowing lines are far more resistant to heat stress than sharp, delicate details. Intricate, angular designs create numerous stress concentration points, making the sculpture more vulnerable to cracking. Simplifying the design, while potentially sacrificing some artistic detail, can significantly extend its lifespan. It's a trade-off, but a necessary one in hotter climates.
Reinforcing weak points during the sculpting process is essential. Strategically freezing layers – allowing each layer to partially freeze before adding the next – can create a stronger, more cohesive structure. Using slushy ice as a bonding agent can also help fill gaps and reinforce connections. We essentially build up the sculpture in stages, allowing each stage to solidify before proceeding.
Protective Coatings & Barriers
You can spray clear acrylic on the surface to block some heat, but it usually looks greasy. Most specialized sealants are overpriced and don't do much more than a cheap canopy would. I prefer keeping the ice bare. If the carving is clean, the natural surface tension of the meltwater actually helps reflect a bit of light.
Physical barriers are another option. Shade structures – tents, canopies, even strategically placed trees – can provide significant protection from direct sunlight. Misting systems can create a cooling effect, but they require a constant water supply and can increase humidity. Carefully positioned fans can also help circulate air and reduce localized heat buildup.
I want to be realistic: these solutions buy time, but they aren’t magic bullets. A coating or a shade structure might delay melting by a few hours, but it won’t prevent it entirely. The effectiveness of these measures depends heavily on the ambient temperature, humidity, and wind conditions. They are best used in conjunction with other techniques, like careful design and structural support.
Protective Coating Comparison for Ice Sculpture Preservation
| Coating Type | Clarity | Durability | Application Difficulty | Environmental Impact |
|---|---|---|---|---|
| Acrylic Spray | Good | Moderate | Easy | Potential VOC concerns |
| Ice Sealant (Water-Based) | Excellent | Moderate | Medium | Generally Lower |
| Wax | Fair | High | Difficult | Biodegradable, but may attract debris |
| Polyurethane Coating | Moderate | Very High | Medium-Difficult | Higher VOCs |
| Silicone-Based Sealant | Excellent | Moderate-High | Medium | Lower, but can be slippery |
| Specialty Ice Coatings | Variable | Variable | Variable | Depends on formulation |
Qualitative comparison based on the article research brief. Confirm current product details in the official docs before making implementation choices.
On-Site Climate Control
For large-scale events, or particularly valuable sculptures, localized climate control might be necessary. Portable air conditioners can provide targeted cooling, but they require a significant power source and can be noisy. Refrigerated tents offer a more controlled environment, but they are expensive and require careful setup. The energy requirements of these systems can be substantial, raising concerns about sustainability.
Minimizing direct sunlight exposure is paramount. Positioning the sculpture in a shaded area, or erecting temporary structures to provide shade, can significantly reduce melting rates. Reflective surfaces – white tarps, polished metal – can also help redirect sunlight away from the sculpture. Careful planning and site selection are crucial.
I’m curious about the cost-benefit analysis of these systems. For a small, temporary sculpture, the expense of climate control might outweigh the benefits. However, for a large, complex installation, or a sculpture that’s intended to last for several days, it might be a worthwhile investment. It’s a complex calculation, factoring in energy costs, rental fees, and the potential for damage.
Monitoring & Emergency Repair
Even with the best preparation, things can go wrong. Regular monitoring is essential. Visual inspection – looking for cracks, drips, or signs of instability – should be conducted frequently. Thermal imaging can reveal hidden stress points and areas of accelerated melting. Early detection is key to preventing catastrophic failure.
Emergency repair strategies should be in place. Patching cracks with slushy ice can temporarily stabilize the sculpture. Reinforcing weak areas with additional ice supports can prevent further damage. Having a dedicated repair kit on hand – including chisels, saws, slushy ice, and a source of cold water – is crucial.
It’s about being prepared for the inevitable. Ice is a dynamic material, and it will change over time. Accepting this reality and having a plan to address potential problems is essential for any ice sculptor working in challenging conditions. Quick response and a resourceful approach can often save a sculpture from complete collapse.

No comments yet. Be the first to share your thoughts!