
Choosing the right ice sculpting tools
Building a reliable toolkit is the foundation of any successful ice sculpting project. The difference between a professional finish and a fractured block often comes down to having the right instrument for the specific stage of the process. You need to distinguish between heavy-duty removal tools that handle bulk material and precision detailing instruments that bring out the fine features.
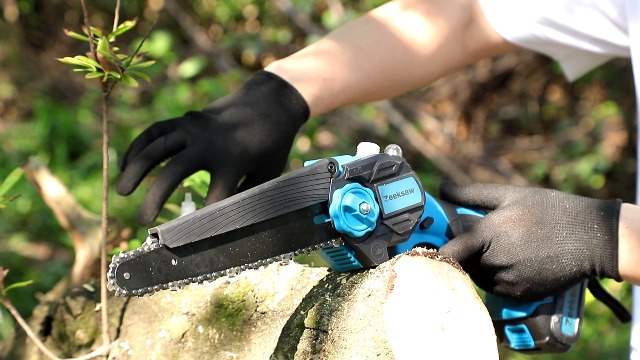
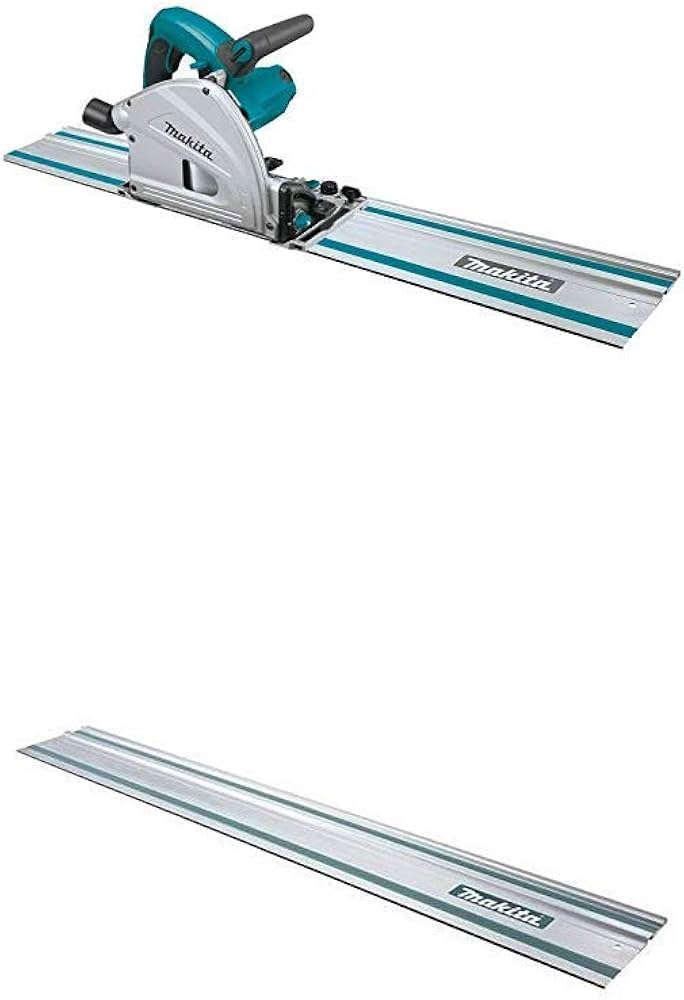
The work begins with power. An electric ice chainsaw is the primary tool for rapid removal. It allows you to drop the block from its shipping dimensions to your rough shape without excessive heat buildup that could cloud the ice. For finer cuts and smoothing out saw marks, a hot wire ice cutter provides a clean, glass-like surface that requires minimal chiseling later. These two tools handle about 80% of the material reduction.
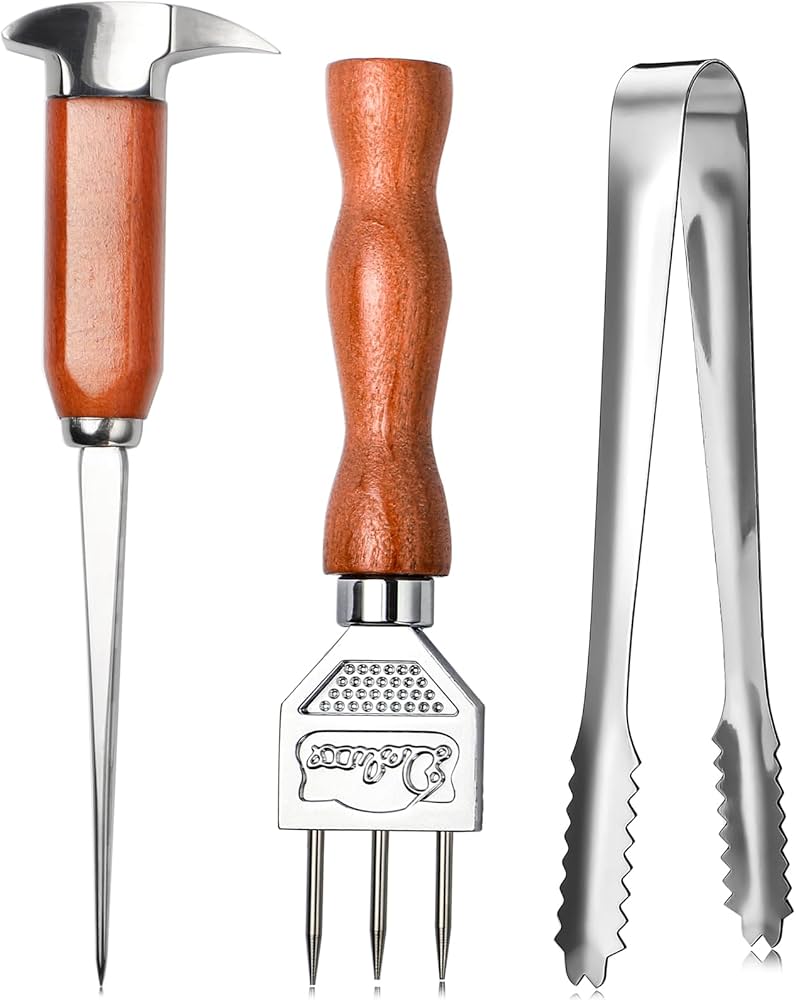
Once the form is established, precision tools take over. A set of carbide chisels and gouges in varying widths lets you carve intricate details like facial features, lettering, or floral patterns. A flexible ice scraper is essential for smoothing curves and removing thin layers of ice dust. For weddings and festivals, where clarity and elegance are paramount, having a dedicated polishing kit with fine-grit sandpaper and a torch can make the difference between a cloudy block and a crystal-clear sculpture.
Selecting gear that matches your skill level and project scale ensures efficiency and safety. Investing in high-quality, durable tools from the start pays off in better results and less time spent on corrections.

As an Amazon Associate, we may earn from qualifying purchases.
Building Stable Ice Structures
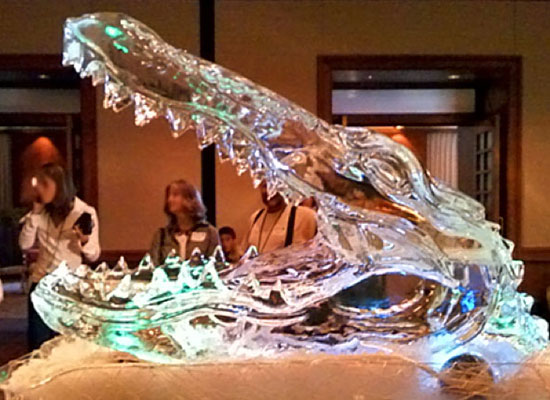
Creating large-scale ice sculptures for weddings and festivals requires more than artistic vision; it demands a rigorous understanding of structural engineering. At Ice Impressions, we treat ice as a building material that behaves predictably when handled correctly. The foundation of any large installation is the internal support system, which bears the weight of the ice and prevents catastrophic failure as the sculpture melts or is touched by guests.
Internal Supports and Block Orientation
The most critical technical decision is how you orient the ice blocks. Ice crystals grow vertically during the freezing process, creating a grain structure that is strongest when compressed along that axis. Always orient ice blocks with the grain vertical for maximum load-bearing capacity. When blocks are laid horizontally, the shear strength drops significantly, making the structure vulnerable to cracking under its own weight or minor impacts.
For multi-tiered sculptures, we use stainless steel rods or food-safe plastic pins to anchor blocks together. These internal supports are inserted into pre-drilled holes and secured with ice glue or water, creating a monolithic structure that moves as a single unit. This technique allows for taller, more complex designs without the risk of slippage.
Temperature Management
Temperature control is the invisible framework of structural integrity. Ice sculptures must be kept at a consistent temperature, ideally between 15°F and 20°F (-9°C to -6°C). Fluctuations above this range cause surface melting and refreezing, which weakens the bond between blocks and creates stress fractures. For outdoor festivals, we often use insulated platforms and misting systems to maintain a stable microclimate around the base of the sculpture.
Tool Selection for Structural Work
To achieve this level of precision, you need tools designed for heavy lifting and fine adjustment. The following tools are essential for maintaining structural integrity during the carving process:


As an Amazon Associate, we may earn from qualifying purchases.
By combining proper block orientation, internal supports, and the right tools, you can build ice sculptures that are not only visually stunning but also structurally sound for the duration of your event.
Techniques for intricate wedding details
Achieving the delicate features required for wedding ice sculptures—such as monograms, floral patterns, and transparent finishes—demands a shift from heavy structural carving to precision tooling. While large centerpieces rely on bulk removal, intricate details require specialized bits and controlled heat application to maintain clarity and sharpness. The difference between a professional finish and a cloudy, fractured result often lies in the specific techniques used for these final touches.
Precision Rotary Carving
For monograms and fine text, a rotary tool with a diamond-tipped bit is the standard for Ice Impressions. Unlike chisels, which can cause micro-fractures in thin ice, rotary carving allows for smooth, continuous lines. The key is maintaining a slow, steady feed rate; moving too fast generates heat that melts the ice rather than cutting it, resulting in a rough, opaque edge. This method is essential for creating the crisp, legible lettering that serves as a focal point on wedding reception tables.
Hot-Wire and Hot-Tool Finishing
Once the rough shape of a floral pattern or sculpted element is established, hot-wire tools are used to refine the surface. A heated wire glides through the ice, melting the surface layer to create a glass-like, transparent finish. This technique is particularly effective for blending seams where multiple blocks of ice are joined or for smoothing the petals of carved flowers. It eliminates the tool marks left by rotary bits, giving the sculpture a seamless, high-end appearance that catches light beautifully.
Maintaining Clarity
Transparent finishes require constant attention to temperature control. Using water-based lubricants sparingly can help clear debris and reduce friction, but excess water can refreeze as cloudy ice if not wiped away immediately. Professionals often use a soft brush to remove shavings rather than blowing air, which can introduce moisture from breath and fog the delicate details. This meticulous approach ensures that the ice remains clear and brilliant, preserving the elegance of the design throughout the event.
Comparison: Hand-Carving vs. Hot-Wire Finishing
The following table compares the primary techniques used for intricate details, highlighting their impact on time investment and final detail level.
| Technique | Detail Level | Time Investment | Best For |
|---|---|---|---|
| Hand-Carving | High | High | Monograms, sharp edges, textured surfaces |
| Hot-Wire Finishing | Medium-High | Low | Smooth surfaces, transparent finishes, blending seams |
Selecting ice for festivals and competitions
Choosing the right ice for large-scale public events requires a shift in mindset from decorative garnish to structural engineering. For festivals and competitions, the ice must withstand hours of exposure to ambient temperatures, heavy tooling, and the physical stress of intricate carving. The primary criteria for selection are clarity, density, and block dimensions, all of which directly influence the artist’s ability to execute complex designs without premature failure.
Clarity is the first indicator of quality. High-clarity ice, often referred to as "crystal clear" or "diamond clear," is produced through a directional freezing process that pushes impurities and air bubbles to the bottom or top of the block, leaving a transparent center. This transparency is not merely aesthetic; it allows light to pass through the sculpture, creating the luminous effect expected in professional competitions. Cloudy ice, by contrast, contains trapped air and minerals that scatter light, resulting in a dull appearance and weaker structural integrity due to internal stress points.
Durability is determined by the ice’s density and lack of internal fractures. Competition ice is typically frozen in controlled environments where water is degassed and frozen slowly over 24 to 72 hours. This slow process creates a uniform crystalline structure that is harder and more resistant to chipping than standard household ice. When selecting blocks for a festival, look for ice that is free of visible cracks, discoloration, or "frost pockets." These defects can cause the sculpture to shatter under the vibration of power tools or the weight of larger sections.
Size and shape are critical for logistical planning. Standard competition blocks are typically 200 to 300 pounds, measuring roughly 24 x 18 x 12 inches. This size provides enough mass for substantial sculptures while remaining manageable for transport and handling. For massive festival installations, custom-sized blocks may be required, but they must still adhere to the clarity and density standards. Always verify the block dimensions with the supplier, as variations can impact the stability of the base and the overall balance of the sculpture.
Ice Sculpting Tool Maintenance and Safety FAQs
Keeping your equipment in top shape ensures your Ice Impressions last through the event. Here are the most common questions about maintaining, storing, and using professional ice carving tools safely.
No comments yet. Be the first to share your thoughts!