
The reality of 2026 festival weather
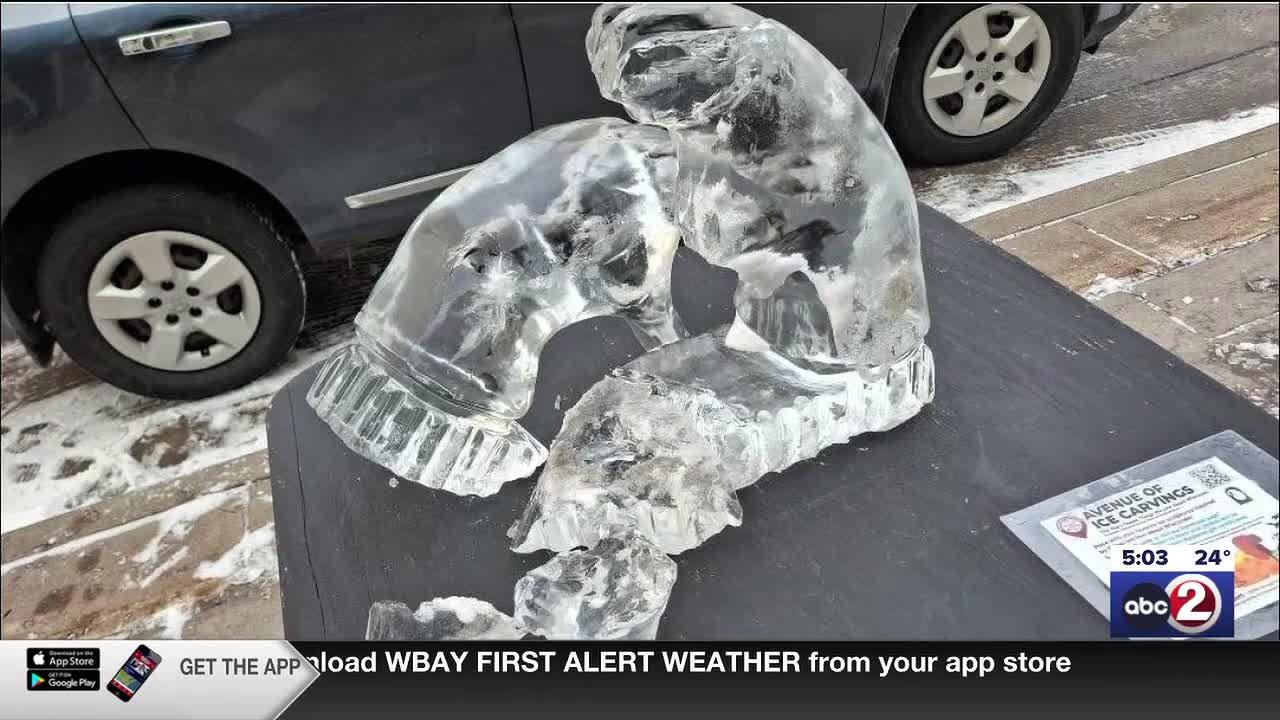
Outdoor ice festivals are getting harder to pull off. By the 2026 season, organizers will have to deal with warmer winters that turn a 10-foot sculpture into a puddle in hours. It isn't just about carving anymore; it's about engineering. If we want these pieces to last more than a weekend, we have to change how we build them.
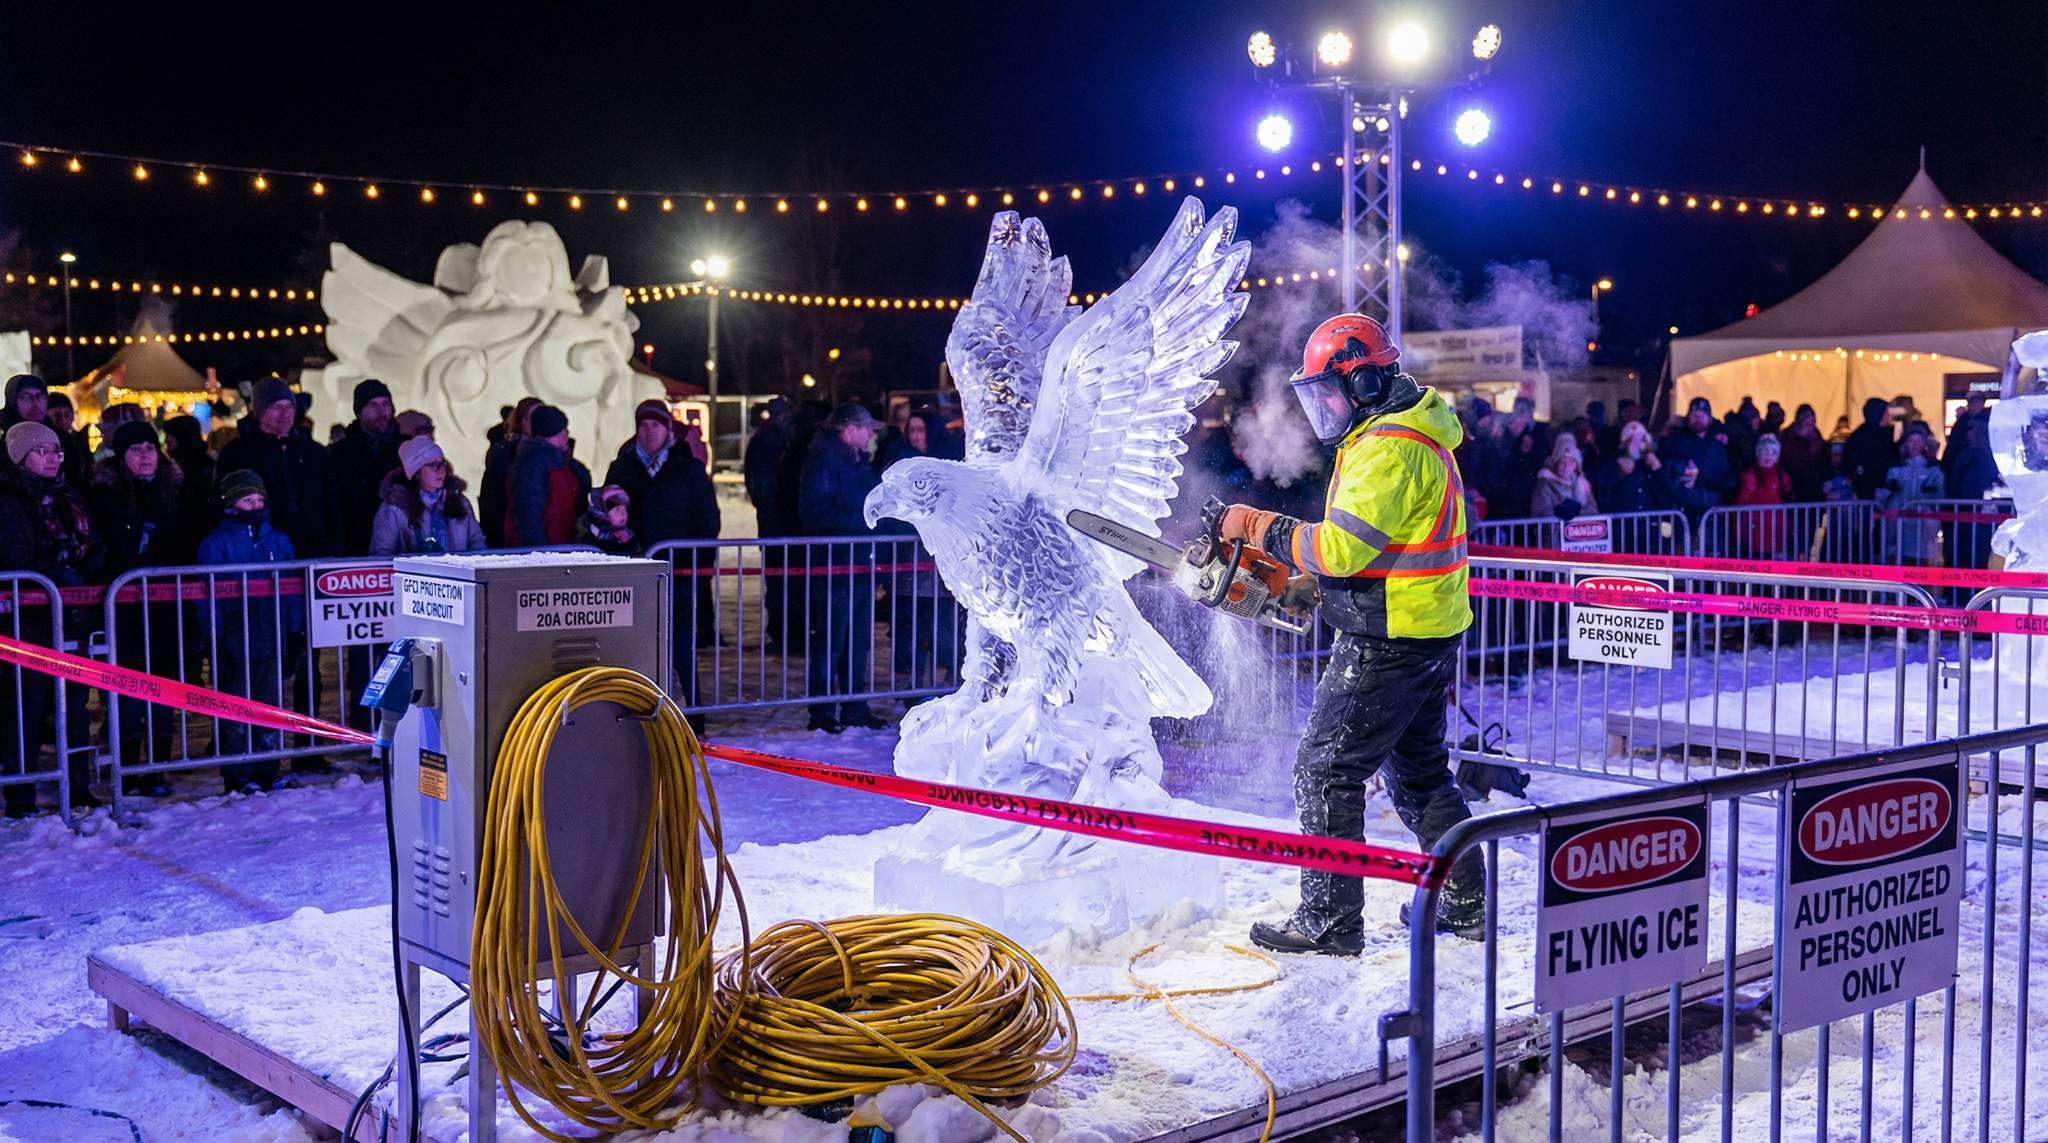
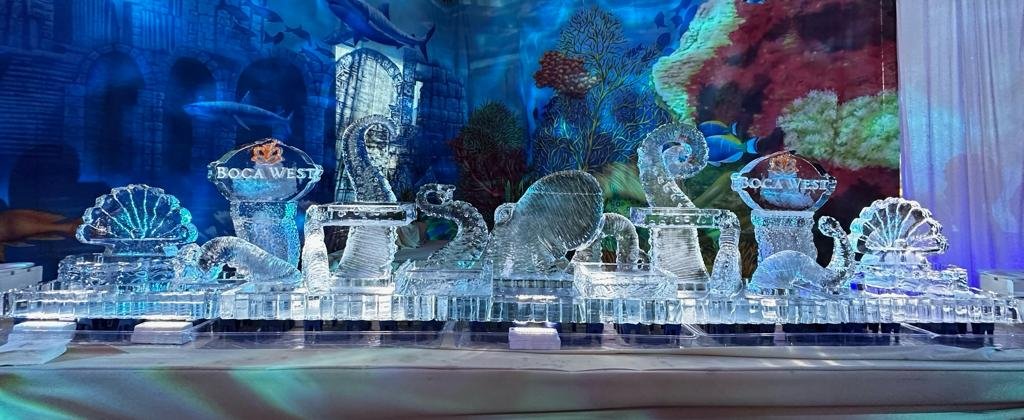
The demand for elaborate ice displays continues to grow. Events like the Festival of Ice in Carmel, Indiana, draw large crowds, demonstrating the public’s fascination with this medium. However, these large-scale events are a real-world testing ground for the limits of ice as a sculptural material. The question isn’t just can we create stunning ice art, but how can we ensure it lasts, even under adverse conditions? The answer lies in a deeper understanding of the material itself and the application of innovative structural techniques.
Climate change is undeniably impacting the art form. Warmer temperatures, increased humidity, and more frequent extreme weather events put immense stress on ice sculptures. What once worked reliably in colder climates may no longer be sufficient. This demands a proactive approach, moving beyond traditional methods and embracing technologies and strategies designed to mitigate these risks. It’s about preserving the artistic vision while acknowledging the realities of a changing climate.

Why ice fails
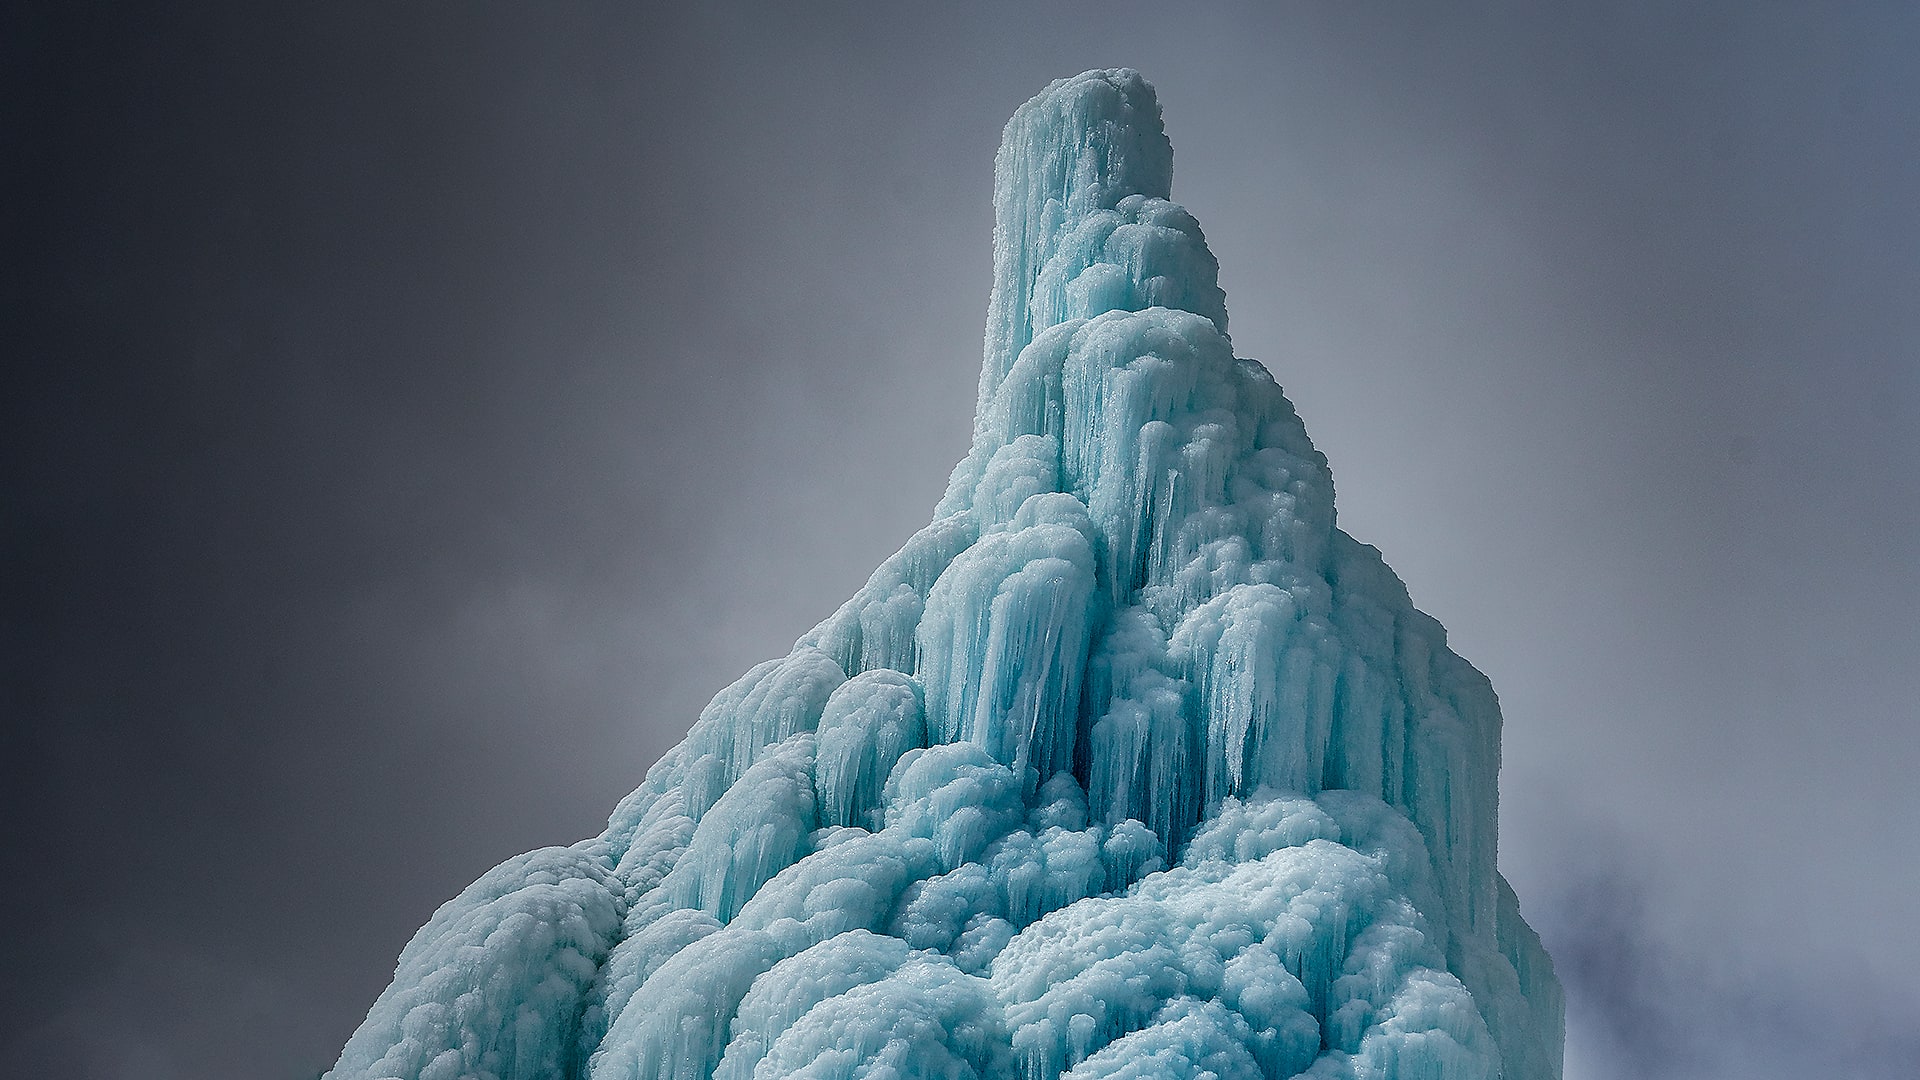
Ice, in its most basic form, is inherently brittle. Its crystalline structure, while beautiful, makes it susceptible to fracturing under stress. Temperature fluctuations are a primary culprit; expansion and contraction caused by changing temperatures create internal stresses that weaken the ice. Sunlight accelerates this process, causing surface melting and further compromising structural integrity. Even seemingly benign factors like wind and humidity play a role, contributing to uneven melting and erosion.
The source of the ice significantly impacts its strength. River and lake ice, while readily available, often contain impurities and air bubbles that create weak points. Manufactured ice, created through directional freezing, is generally stronger and clearer because it minimizes these imperfections. However, even the best manufactured ice isn't immune to the effects of environmental stress. The composition of the water used – its mineral content and purity – also influences the final ice structure.
Stress fractures initiate at points of weakness within the ice. These can be pre-existing flaws from the freezing process, or they can develop as a result of external forces. Sharp angles and abrupt transitions in the sculpture’s design act as stress concentrators, making these areas particularly vulnerable. Understanding how these fractures propagate is crucial for designing sculptures that can withstand the rigors of an outdoor festival. It's not enough to simply carve a shape; you must engineer it to distribute stress evenly.
The rate of melting is also affected by surface area. A larger surface area exposed to air and sunlight means faster melting. This is why designs with intricate details, while visually appealing, can be more susceptible to damage than simpler, more streamlined forms. Sculptors must balance artistic expression with the practical considerations of structural stability.
Building an internal skeleton
One of the most effective approaches to strengthening ice sculptures is to reinforce them from within. This involves embedding support structures directly into the ice during the freezing process. Acrylic rods are a common choice, providing tensile strength and preventing catastrophic collapse. The key is to strategically position these rods to support key stress points and prevent fracturing. It's a bit like the steel rebar in concrete construction.
Embedded fabrics, like nylon mesh, can also be used to distribute stress and increase the ice’s resistance to cracking. The fabric is frozen within the ice block, creating a network of reinforcement. This is particularly effective for larger sculptures or those with complex shapes. However, concealing the fabric aesthetically can be a challenge; careful planning and skillful sculpting are required to minimize its visibility.
Strategically placed water pockets that freeze differently can also add structural support. By introducing water with varying salinity levels or freezing temperatures, you can create areas of denser, stronger ice that act as internal buttresses. This technique requires precise control over the freezing process and a deep understanding of how different water compositions affect ice formation. It’s a complex approach, but the results can be impressive.
Varying the water itself – introducing small amounts of additives, for example – can influence the freezing pattern and resulting ice strength. Some sculptors experiment with polymers to create a slightly more pliable ice, less prone to shattering. However, the use of additives must be carefully considered, as they can affect the ice’s clarity and aesthetic appeal. The balance between strength and visual quality is always a delicate one. Experimentation with water purity is also vital; distilled water generally yields stronger ice than tap water.
External Shielding: Protective Layers & Coatings
While internal reinforcement is crucial, external protection can significantly extend the lifespan of an ice sculpture. The most straightforward approach is to minimize exposure to the elements. Windbreaks and shade structures can reduce the impact of wind erosion and direct sunlight. Strategic placement of sculptures, taking advantage of natural shade or prevailing wind patterns, is also essential.
Protective coatings are hit-or-miss. Some carvers use polymer sprays to slow down the melt, but they often leave the ice looking cloudy or yellow. I'm not sold on them yet. Until someone develops a spray that stays perfectly clear under UV light, a physical shade structure is a better bet.
Temporary enclosures, such as clear acrylic domes or tents, offer the most comprehensive protection. However, these structures can be expensive and detract from the open-air festival atmosphere. Finding the right balance between protection and aesthetics is a key consideration. The cost of constructing and maintaining these enclosures must also be factored into the overall budget.
Careful consideration should also be given to the surrounding environment. Preventing direct contact between the sculpture and the ground can help minimize heat transfer. Using insulated platforms or barriers can create a buffer zone that slows down melting. Even seemingly minor details can make a difference in preserving the sculpture’s integrity.
Ice Block Selection: Beyond Clarity
Selecting the right ice blocks is the foundation of any successful ice sculpture. While clarity is often prized for its aesthetic appeal, it’s not the sole indicator of quality. Directional freezing – the process of freezing water from one direction, allowing impurities to concentrate at the bottom – is crucial for producing strong, clear ice. This process aligns the ice crystals, minimizing weak points and maximizing structural integrity.
Bubble content is a key factor to consider. Air bubbles create stress points and weaken the ice, making it more susceptible to cracking. The fewer bubbles, the better. Manufactured ice generally has lower bubble content than natural ice, but even within manufactured ice, quality can vary. Inspecting each block carefully for visible bubbles is essential.
Different ice manufacturing processes yield different ice characteristics. Block ice, made by directional freezing in large molds, is typically the strongest and clearest. Column ice, created by continuously adding water to a freezing column, tends to be less dense and more prone to fracturing. Understanding these differences allows sculptors to choose the appropriate ice for their project.
Before beginning any sculpture, a thorough inspection of each ice block is vital. Look for pre-existing flaws, such as cracks, fractures, or inclusions. Tap the block gently; a clear, ringing sound indicates solid ice, while a dull thud suggests internal damage. Rejecting flawed blocks, even if it means increasing costs, is a worthwhile investment in the sculpture’s longevity.
- Look for bubbles or white 'snow' inside the block that indicate trapped air.
- Tap the block to assess its density.
- Inspect for pre-existing cracks or fractures.
- Ensure the ice is uniformly clear and free from discoloration.
Carving for strength
The sculpting process itself significantly impacts the final sculpture’s resilience. Smooth transitions and gradual curves distribute stress more evenly than sharp angles and abrupt changes in form. Sharp angles act as stress concentrators, making the sculpture more vulnerable to cracking. A skilled sculptor will prioritize structural integrity alongside artistic expression.
The choice of tools also matters. Chainsaws are effective for roughing out the basic shape, but they can create micro-fractures within the ice. Chisels and grinders offer more control and precision, minimizing stress during the carving process. Using the right tool for the job is essential. For example, a fine-toothed saw is better for intricate details than a coarse chainsaw.
Minimizing stress during carving is paramount. Avoid forcing the tools; let them do the work. Apply consistent pressure and avoid jerky movements. Frequent pauses to allow the ice to settle can also help prevent cracking. It’s a surprisingly delicate process, requiring patience and skill.
Surface finishing plays a critical role. Polishing the ice smooths out microscopic imperfections that can act as stress concentrators. A well-polished surface also reduces the rate of melting by minimizing surface area. The final touch – a careful smoothing and polishing – can significantly extend the sculpture’s lifespan. It’s a detail often overlooked, but it makes a real difference.
Monitoring & Maintenance: Real-Time Response
Even with the best preparation, ice sculptures require continuous monitoring during a festival. A dedicated maintenance team should regularly inspect the sculptures for early signs of structural weakness, such as cracks, leaning, or surface erosion. Early detection is crucial for preventing catastrophic failure.
Emergency repair techniques, such as ice welding (using slushy ice to bond fractured pieces) and patching (applying small pieces of ice to fill cracks), can temporarily stabilize a damaged sculpture. However, these repairs are often cosmetic and don’t fully restore the sculpture’s original strength. They provide a temporary fix, buying time until more substantial action can be taken.
The potential for remote temperature and humidity sensors to provide real-time data is exciting. These sensors could alert the maintenance team to unfavorable conditions, allowing them to take proactive measures to protect the sculptures. This technology is still evolving, but it holds promise for improving the longevity of ice art.
A well-equipped maintenance team is essential. They should have access to the necessary tools and materials for repair, as well as the training to identify and address potential problems before they escalate. Proactive maintenance – regular inspections and minor repairs – is far more effective than reactive repairs after a major failure.
No comments yet. Be the first to share your thoughts!