
The Shifting Landscape of Outdoor Ice Art
For those of us working with ice, the changes are undeniable. Warmer temperatures aren't a future threat; they’re reshaping what’s possible right now. The 2024 festival season was particularly challenging, with several events reporting significantly reduced sculpture lifespans, even with standard preservation efforts. We’ve moved beyond simply needing to work quickly and efficiently; we need fundamentally different strategies.
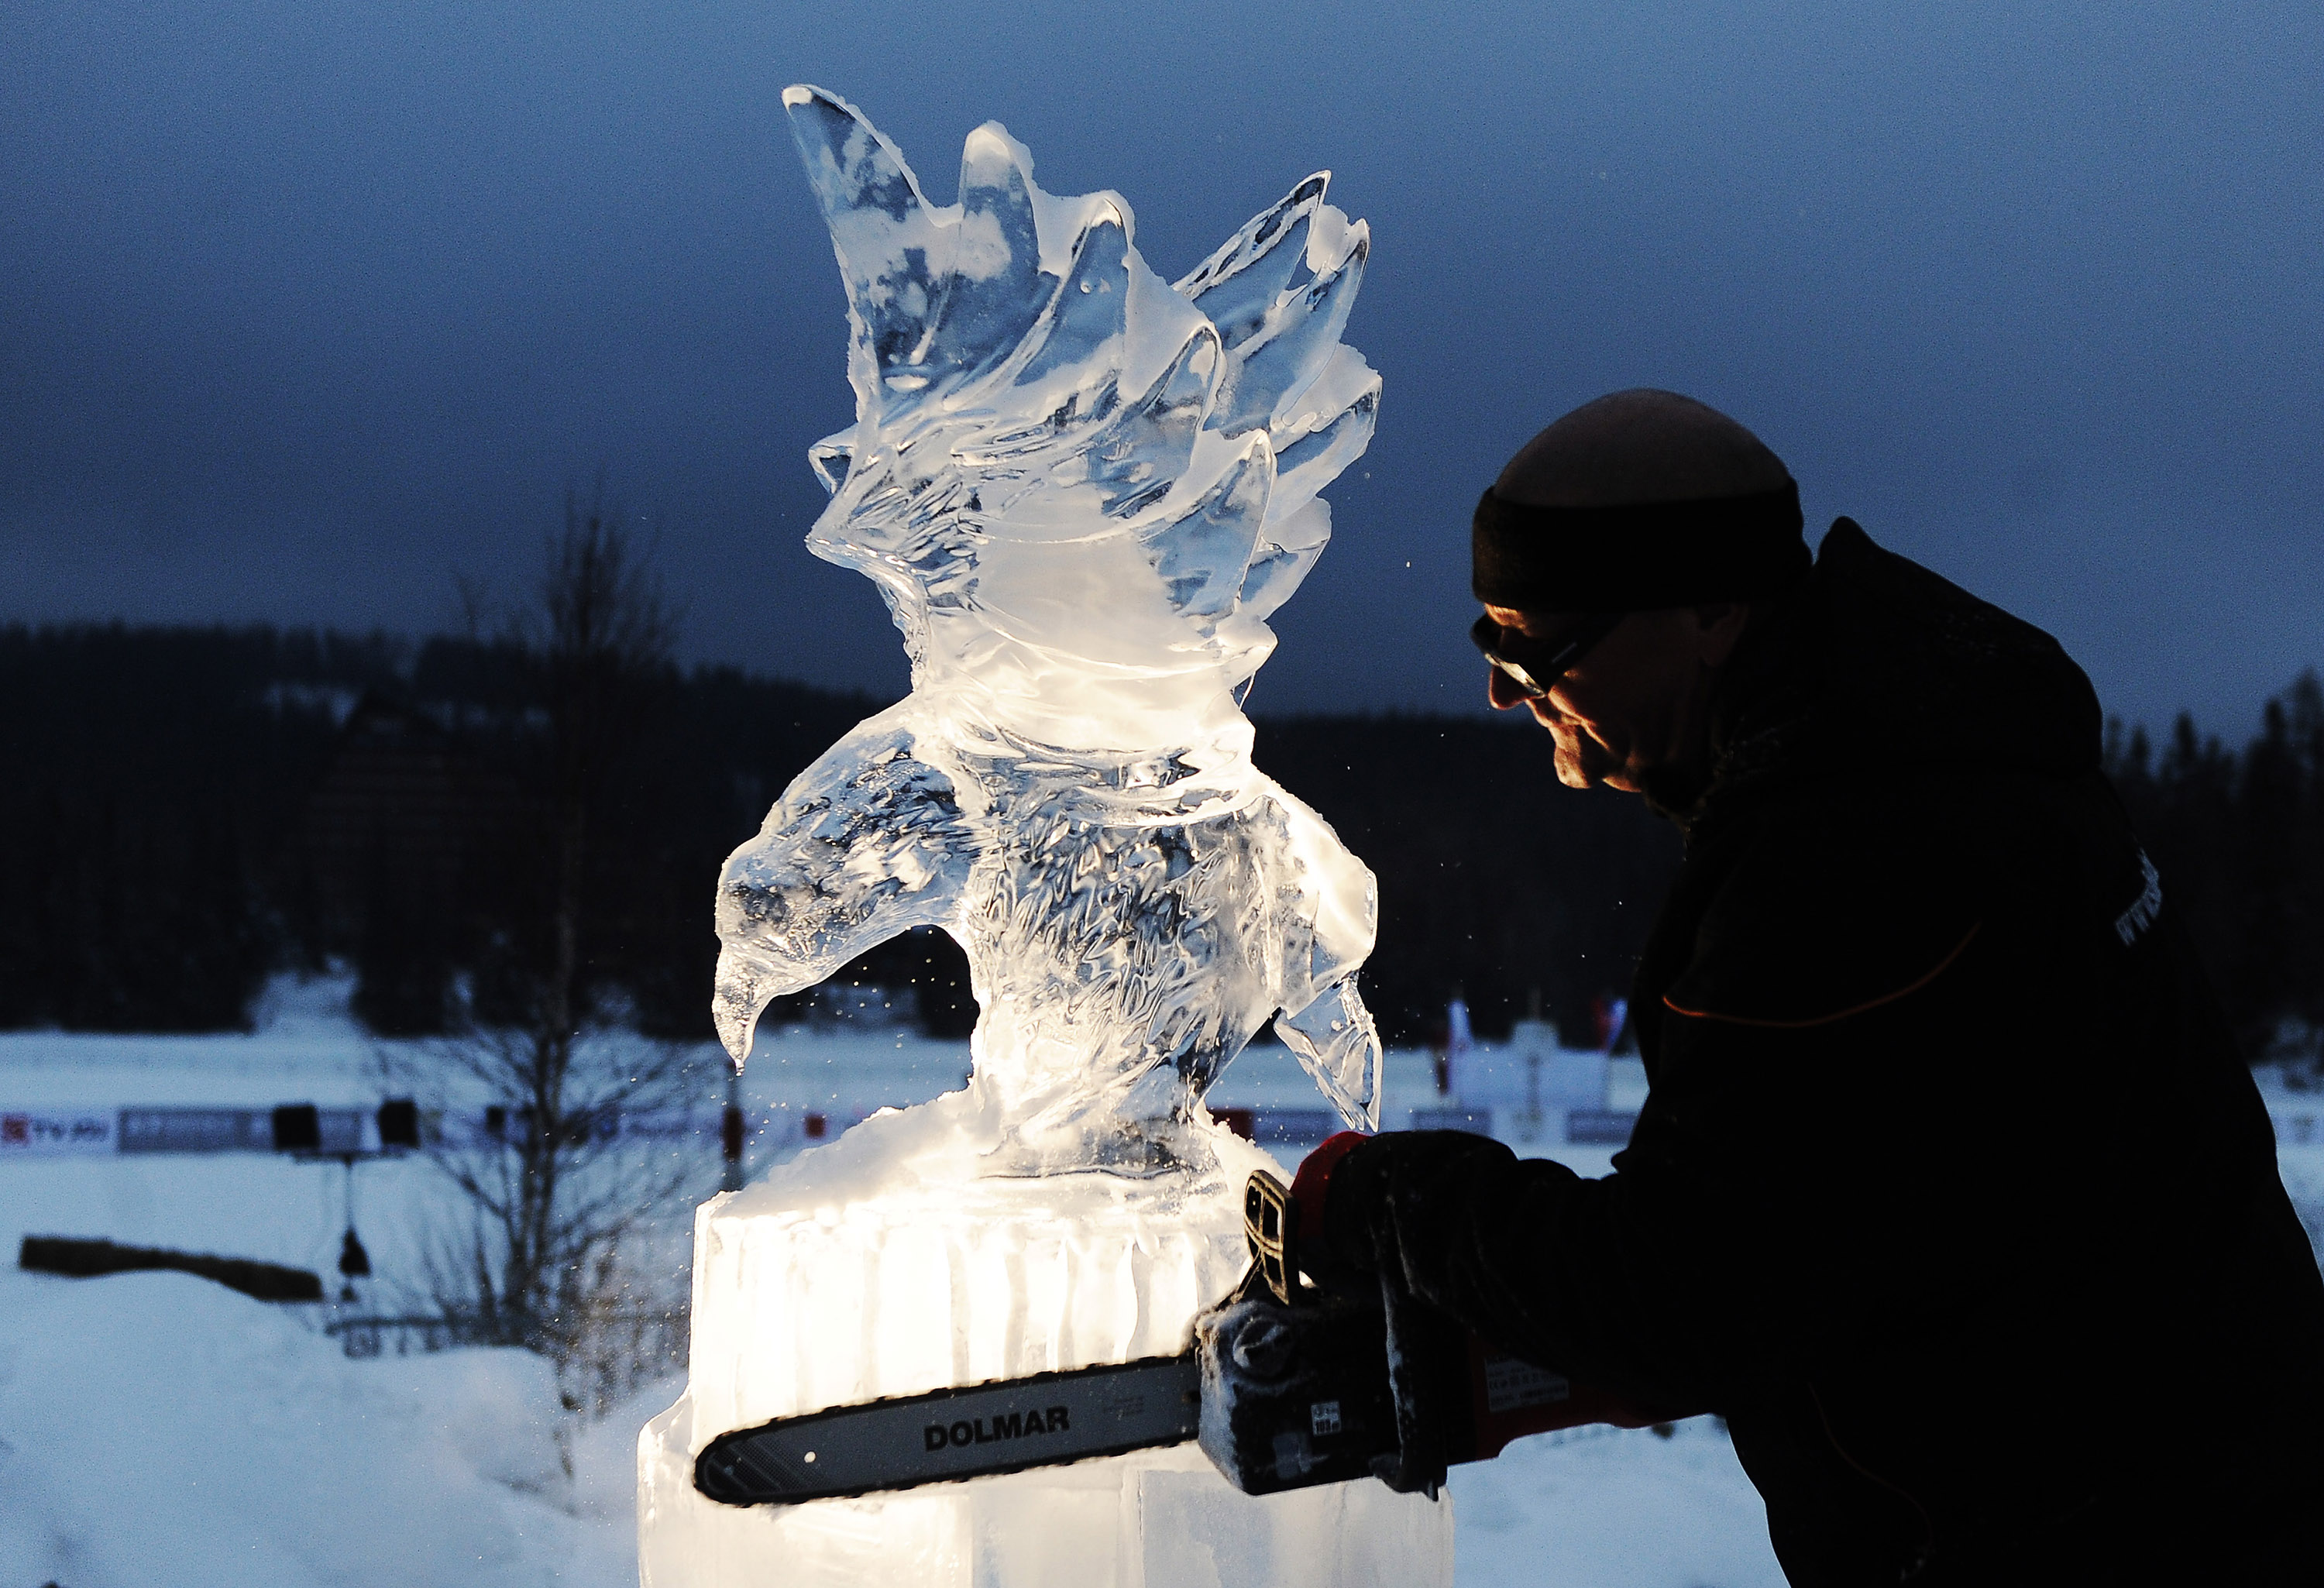
Traditionally, ice sculptors have relied on speed and skill to mitigate melting. A fast carve meant less time exposed to the elements. But that approach is reaching its limits. We’re seeing increased requests for larger, more complex sculptures, and these simply can’t be completed quickly enough to withstand even moderately warm conditions. The demand for outdoor ice art isn’t decreasing, so we have to adapt.
The Clark Art Institute’s research on the "entropic history of ice" provides a useful framework for understanding this. Their work, published in 2018, emphasizes that all things – including ice sculptures – are subject to inevitable decay. This requires acknowledging the inherent instability of the medium and building resilience into every stage of the process, from ice creation to structural design.
We aren't going to create ice sculptures that last forever. However, we can improve their durability so they survive the weekend. This requires a shift in how we approach the medium.
Understanding Ice’s Enemies: Beyond Air Temperature
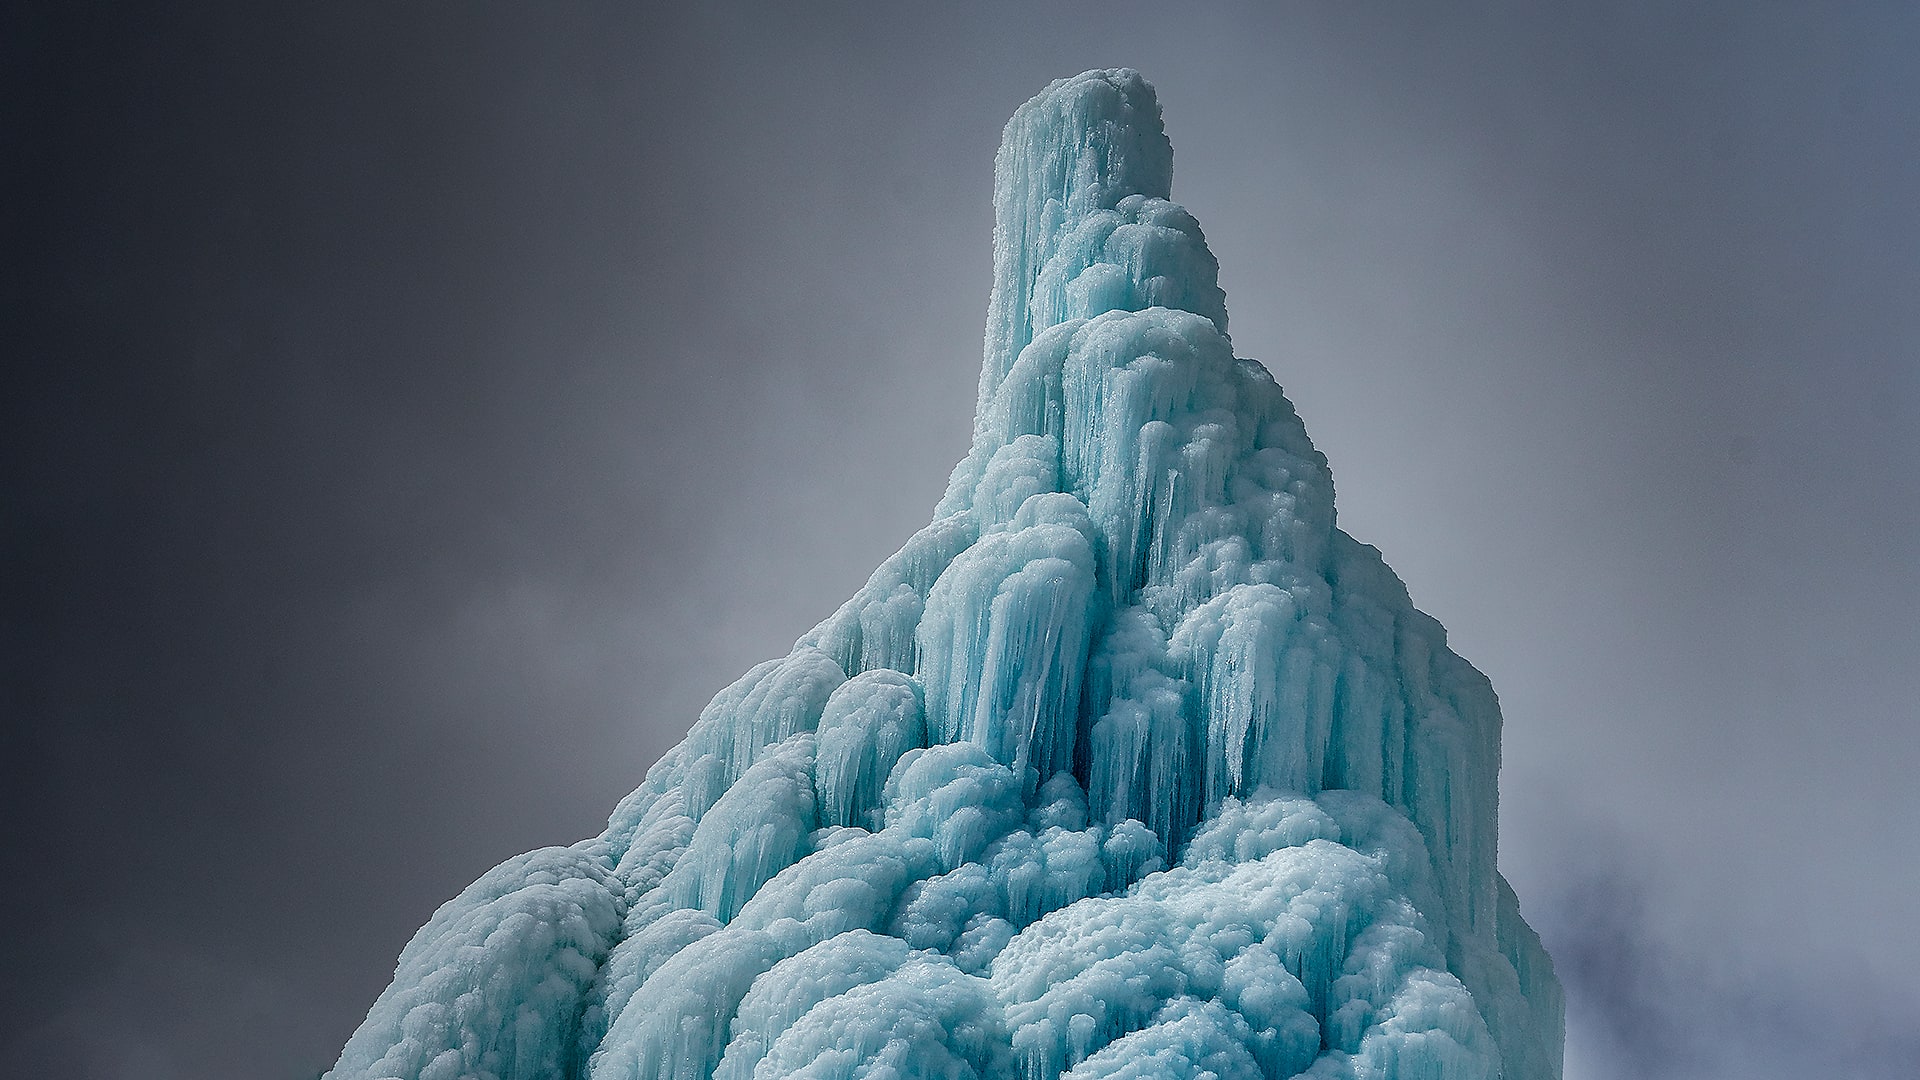
It's easy to assume that air temperature is the biggest factor in ice melt, but it’s a surprisingly small piece of the puzzle. While obviously important, several other elements accelerate the process. Solar radiation, both direct sunlight and reflected light from surrounding surfaces, is a major culprit. Darker-colored ice absorbs more radiation, leading to faster melting – a consideration when choosing ice blocks or adding color.
Wind speed is another critical factor. Increased airflow doesn’t necessarily cool the ice; it enhances convective heat transfer, stripping away the cold air surrounding the sculpture and replacing it with warmer air. This is why even a slight breeze can dramatically increase melt rates. Humidity also plays a significant role, specifically through sublimation – the direct transition of ice to vapor. High humidity slows this process, while low humidity accelerates it.
Don’t underestimate ground temperature either. If the sculpture is in direct contact with a warm surface, heat will conduct into the ice, causing it to melt from the bottom up. This is why using insulated platforms is crucial. Even seemingly minor factors, like the color and material of the display surface, can have a measurable impact. A black asphalt surface will radiate more heat than a lighter-colored concrete one.
Finally, consider the impact of pollution. Airborne particulates can land on the ice, darkening it and increasing solar absorption. They can also create microscopic imperfections that weaken the structure. I’ve noticed a clear difference in ice clarity and durability between sculptures created in urban versus rural environments.
Ice Formulation: The Foundation of Resilience
The ice quality is the first line of defense against melting. Using water that isn’t pure introduces impurities that weaken the ice structure and accelerate decay. Distilled water or reverse osmosis water is essential for creating truly resilient ice. Tap water, even if filtered, often contains minerals and dissolved gases that create imperfections.
Directional freezing is another critical technique. This involves freezing the water slowly and from one direction, pushing air bubbles and impurities to the bottom of the block. The result is clearer, denser ice that’s significantly stronger and more resistant to melting. Commercial ice manufacturers often use specialized freezing equipment to achieve this consistently. There’s a noticeable difference between ice frozen this way and ice made in a standard freezer.
The idea of adding additives to the ice to slow melting is gaining traction, but it’s a complex topic. Some polymers have shown promise in laboratory settings, but I’m cautious about recommending specific chemicals without extensive long-term testing. We need to consider the environmental impact and potential effects on the aesthetic quality of the sculpture. The goal isn’t just to slow melting; it’s to preserve the beauty of the ice.
Block size and shape also matter. Larger blocks melt more slowly due to their lower surface area-to-volume ratio. However, they’re also heavier and more difficult to handle. The ideal size and shape will depend on the specific sculpture design and the available equipment. I've found that rectangular blocks tend to be more structurally sound than square ones for larger pieces.
- Water Purity: Distilled or reverse osmosis water is essential.
- Directional Freezing: Creates denser, clearer ice.
- Block Size: Larger blocks melt slower, but are heavier.
- Shape: Rectangular blocks offer better structural support.
Structural Design for Extended Lifespans
How you build the sculpture matters as much as the ice quality. A poorly designed piece collapses quickly even if the ice is pure. You have to understand weight distribution and stress points. Think about how the weight of each element is supported and how forces are transferred through the structure.
Creating self-supporting structures is key. Minimize overhangs and use angles to distribute weight more evenly. Reinforce weak points with additional ice or internal supports. I often use a technique where I carve a core structure within the sculpture to provide internal bracing. It adds complexity, but it significantly increases stability.
Internal supports, like clear acrylic rods, can be incredibly effective, but they need to be integrated seamlessly into the design. The goal is to provide support without detracting from the aesthetic appeal. I’ve experimented with embedding the rods within the ice itself, making them virtually invisible. It requires careful planning and precise carving.
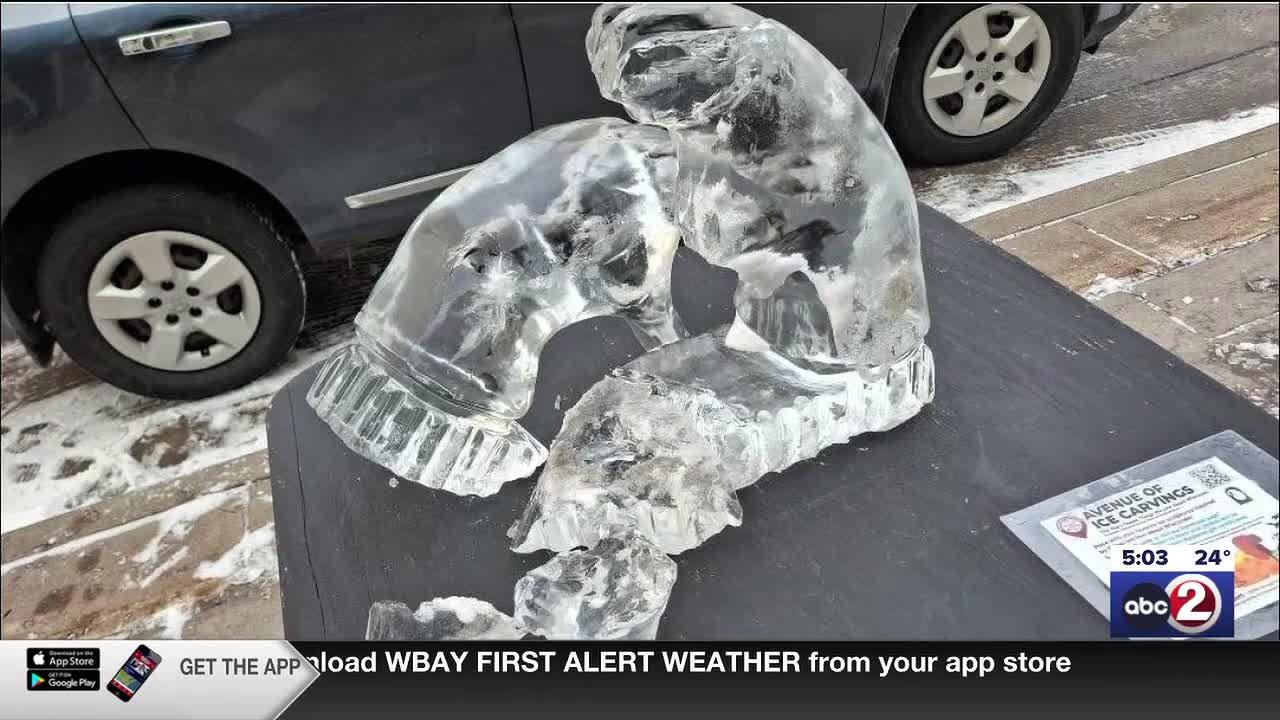
Designing for controlled failure is also important. If a piece is going to melt or break, you want it to do so in a predictable and safe way. Avoid designs where a single point of failure could cause the entire sculpture to collapse. Instead, create sections that can detach without compromising the overall integrity of the piece. This is about anticipating the inevitable and mitigating the risks.
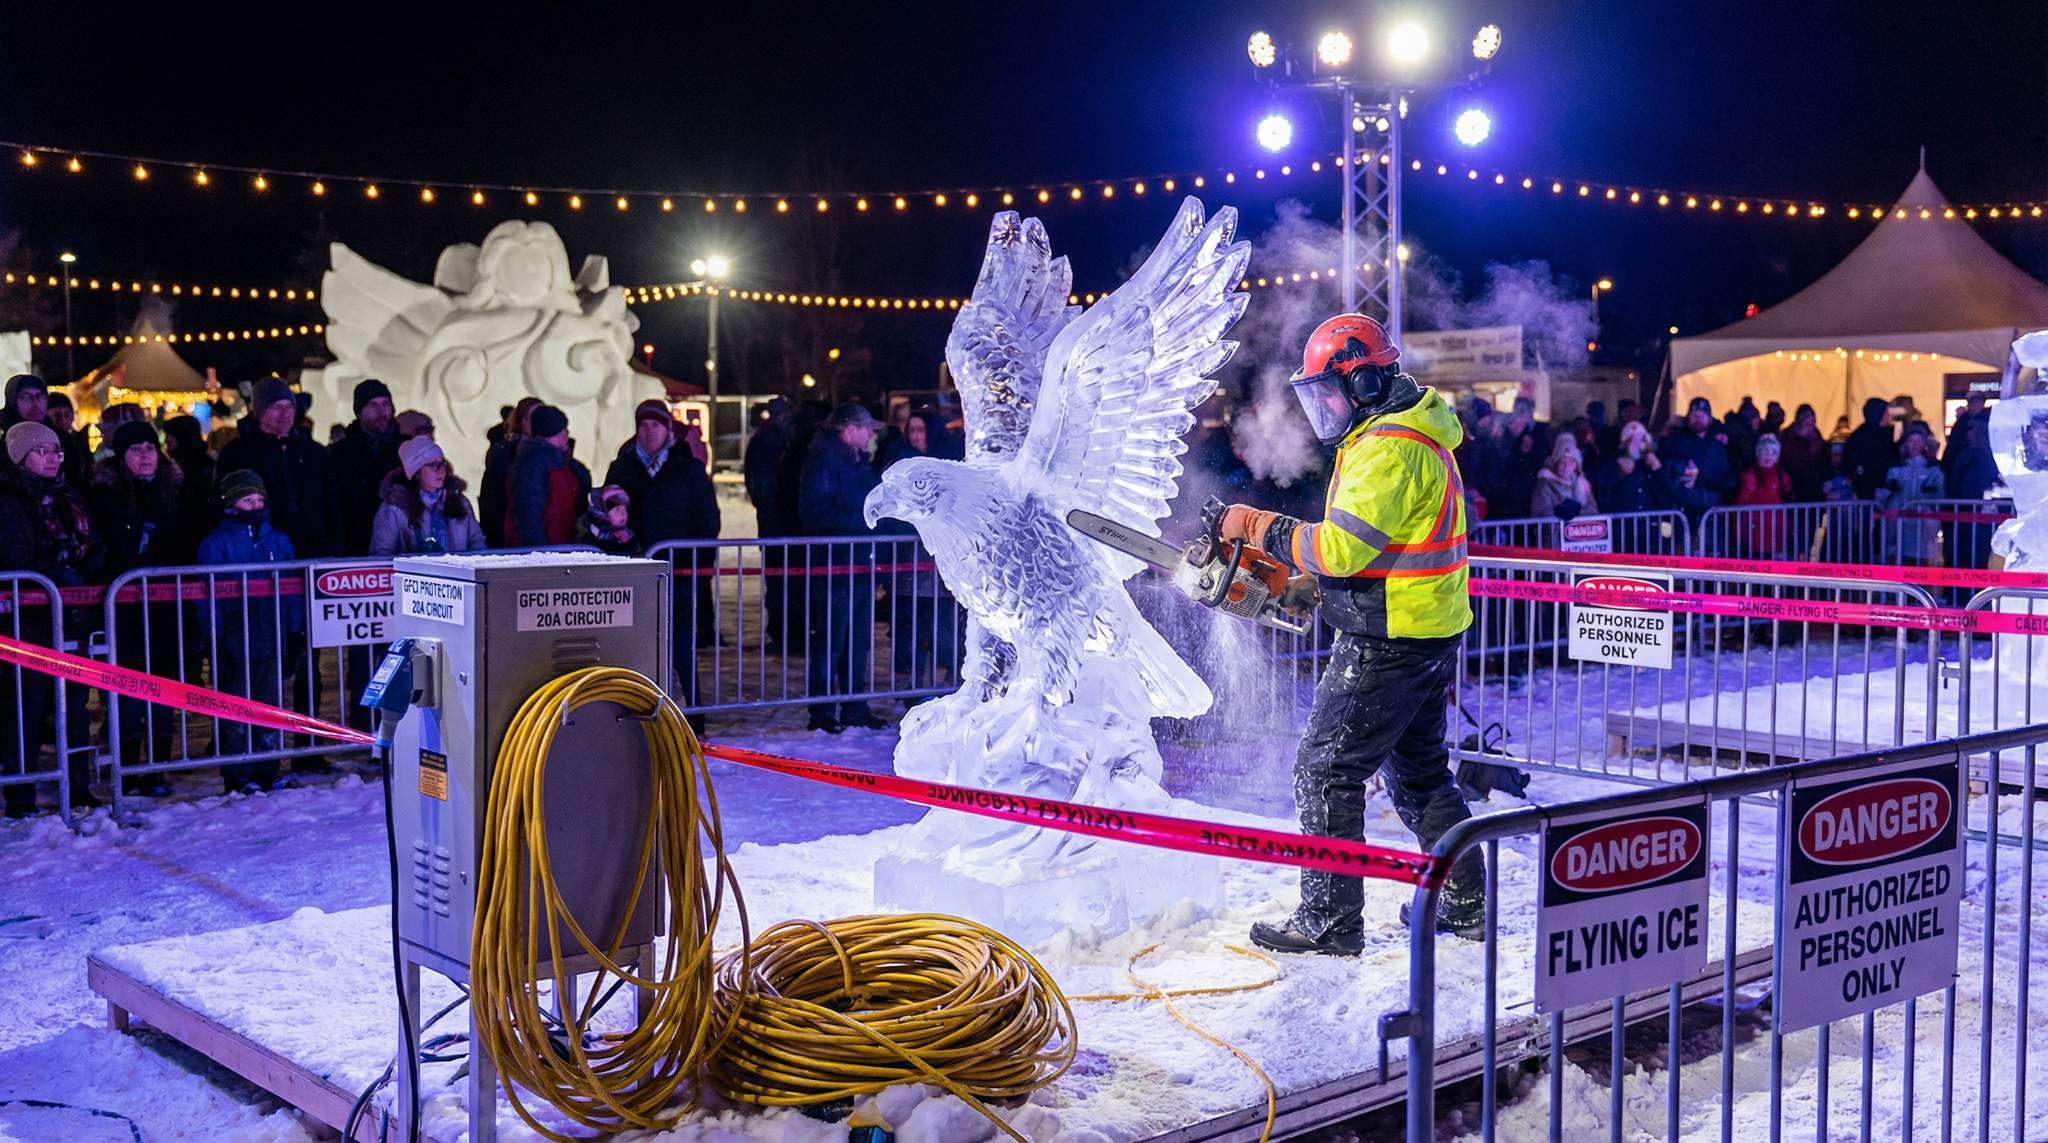
Active Preservation: Cooling and Shading Strategies
Beyond the ice and the design, actively managing the environment around the sculpture is vital. Strategically placed shade structures are a simple but effective way to reduce solar radiation. However, a simple umbrella isn’t enough. We need engineered canopies that block sunlight without trapping heat. Ventilation is key.
Misting systems can help lower the temperature around the sculpture, but they also increase humidity, which can accelerate sublimation. It’s a trade-off. If you use a misting system, make sure it’s properly calibrated to avoid over-saturating the air. I’ve seen instances where misting systems actually increased melt rates due to the increased humidity.
Localized cooling systems, like fans or even small-scale refrigeration units, can be effective, but they present logistical challenges. Powering these systems at outdoor events can be difficult and expensive. The noise from fans can also be disruptive. It’s about finding a balance between effectiveness and practicality.
Ultimately, we are creating microclimates. We manipulate the immediate environment by using physical barriers to trap cold air near the base. slow down the melting process. This requires careful consideration of all the factors we’ve discussed – sunlight, wind, humidity, and temperature.
Protective Coatings: A Controversial Approach
The use of protective coatings on ice sculptures is a relatively new development and remains a contentious topic. The idea is simple: apply a thin layer of something to the ice surface to slow down melting. Various coatings are being used, including acrylic polymers and waxes, but their effectiveness and impact on aesthetics are still being debated.
Some coatings claim to reduce melting rates by up to 30%, but these claims are often based on laboratory tests and may not translate to real-world conditions. Furthermore, many coatings alter the appearance of the ice, making it look cloudy or plastic-like. This can detract from the natural beauty of the sculpture.
Environmental concerns are also a significant factor. Some coatings contain volatile organic compounds (VOCs) that can harm the environment. Others are not biodegradable and can contribute to plastic pollution. I'm hesitant to endorse any coating that poses a risk to the environment.
I’m not entirely convinced that protective coatings are the right solution. While they may offer some short-term benefits, I worry about the long-term consequences. More research is needed to fully understand their impact on both the sculptures and the environment. For now, I recommend proceeding with caution.
Content is being updated. Check back soon.
Monitoring and Maintenance: Real-Time Response
Preservation isn’t a one-time effort; it’s an ongoing process. Continuously monitoring the sculpture’s condition throughout the event is crucial. Temperature sensors can provide valuable data on melting rates, and time-lapse photography can help track changes over time. This allows you to identify potential problems early on and take corrective action.
Basic repair techniques are essential. Knowing how to patch cracks, re-freeze small areas, and reinforce weak points can significantly extend the sculpture’s lifespan. Having a dedicated maintenance team on-site is invaluable. They can respond quickly to any issues that arise and ensure that the sculpture remains in optimal condition.
Documenting the sculpture’s lifecycle is also important. Keeping a detailed record of the carving process, the environmental conditions, and any maintenance performed can provide valuable insights for future projects. This data can help you refine your techniques and create even more durable sculptures.
Ultimately, successful ice sculpture preservation requires a proactive and adaptive approach. It’s about anticipating the challenges, monitoring the conditions, and responding quickly to any changes. It's a constant learning process, and we’re all still figuring out the best ways to navigate this evolving landscape.

No comments yet. Be the first to share your thoughts!